All you need for this is a drill with a 1/4 inch bit and an 1/8th inch bit, a screwdriver, and needle nose pliers. No other tools necessary.
Click on any image to make it full size!
|
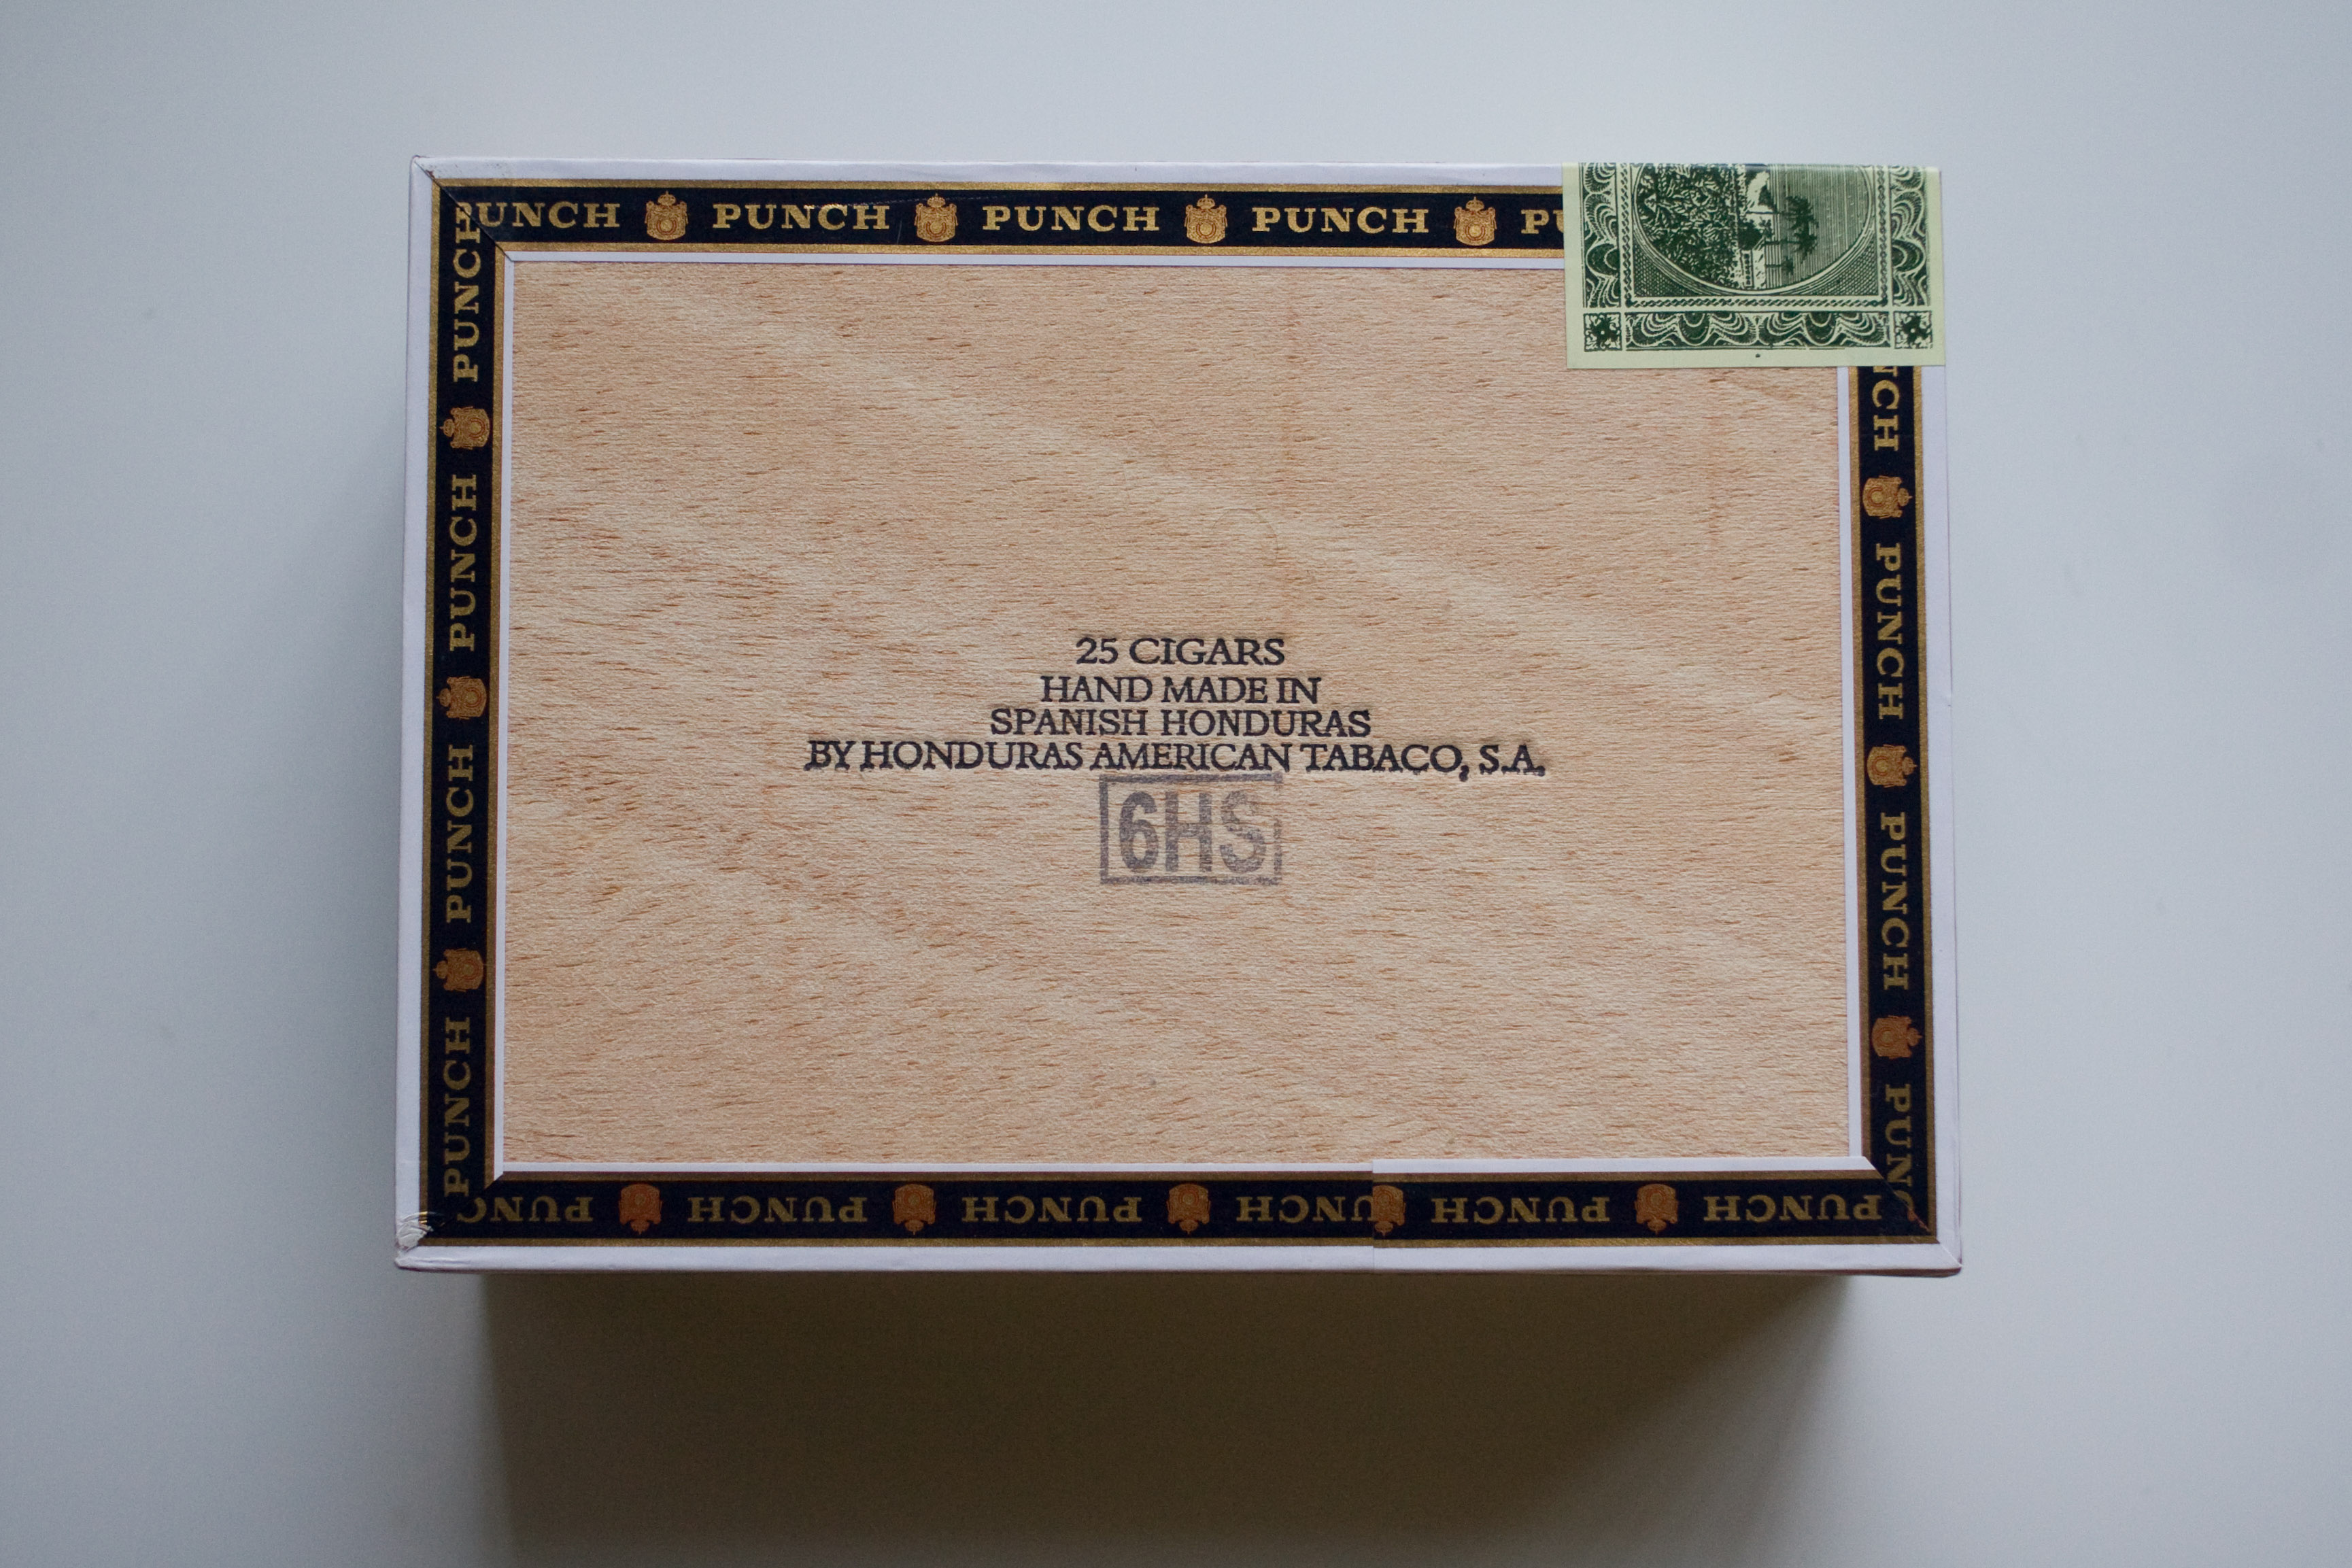
This is the box I'll be using. It's a Punch Magnum box. I'm going to put the speaker on the left and the control knobs on the right, like an old radio. I could just start drilling holes, and I've done a few really quick and dirty amps where I just drill like mad, but then I'll drill too many holes or it looks lopsided or something. But for this amp I want a little cleaner look. What I need is a guide, something to keep my holes from going astray. |
|
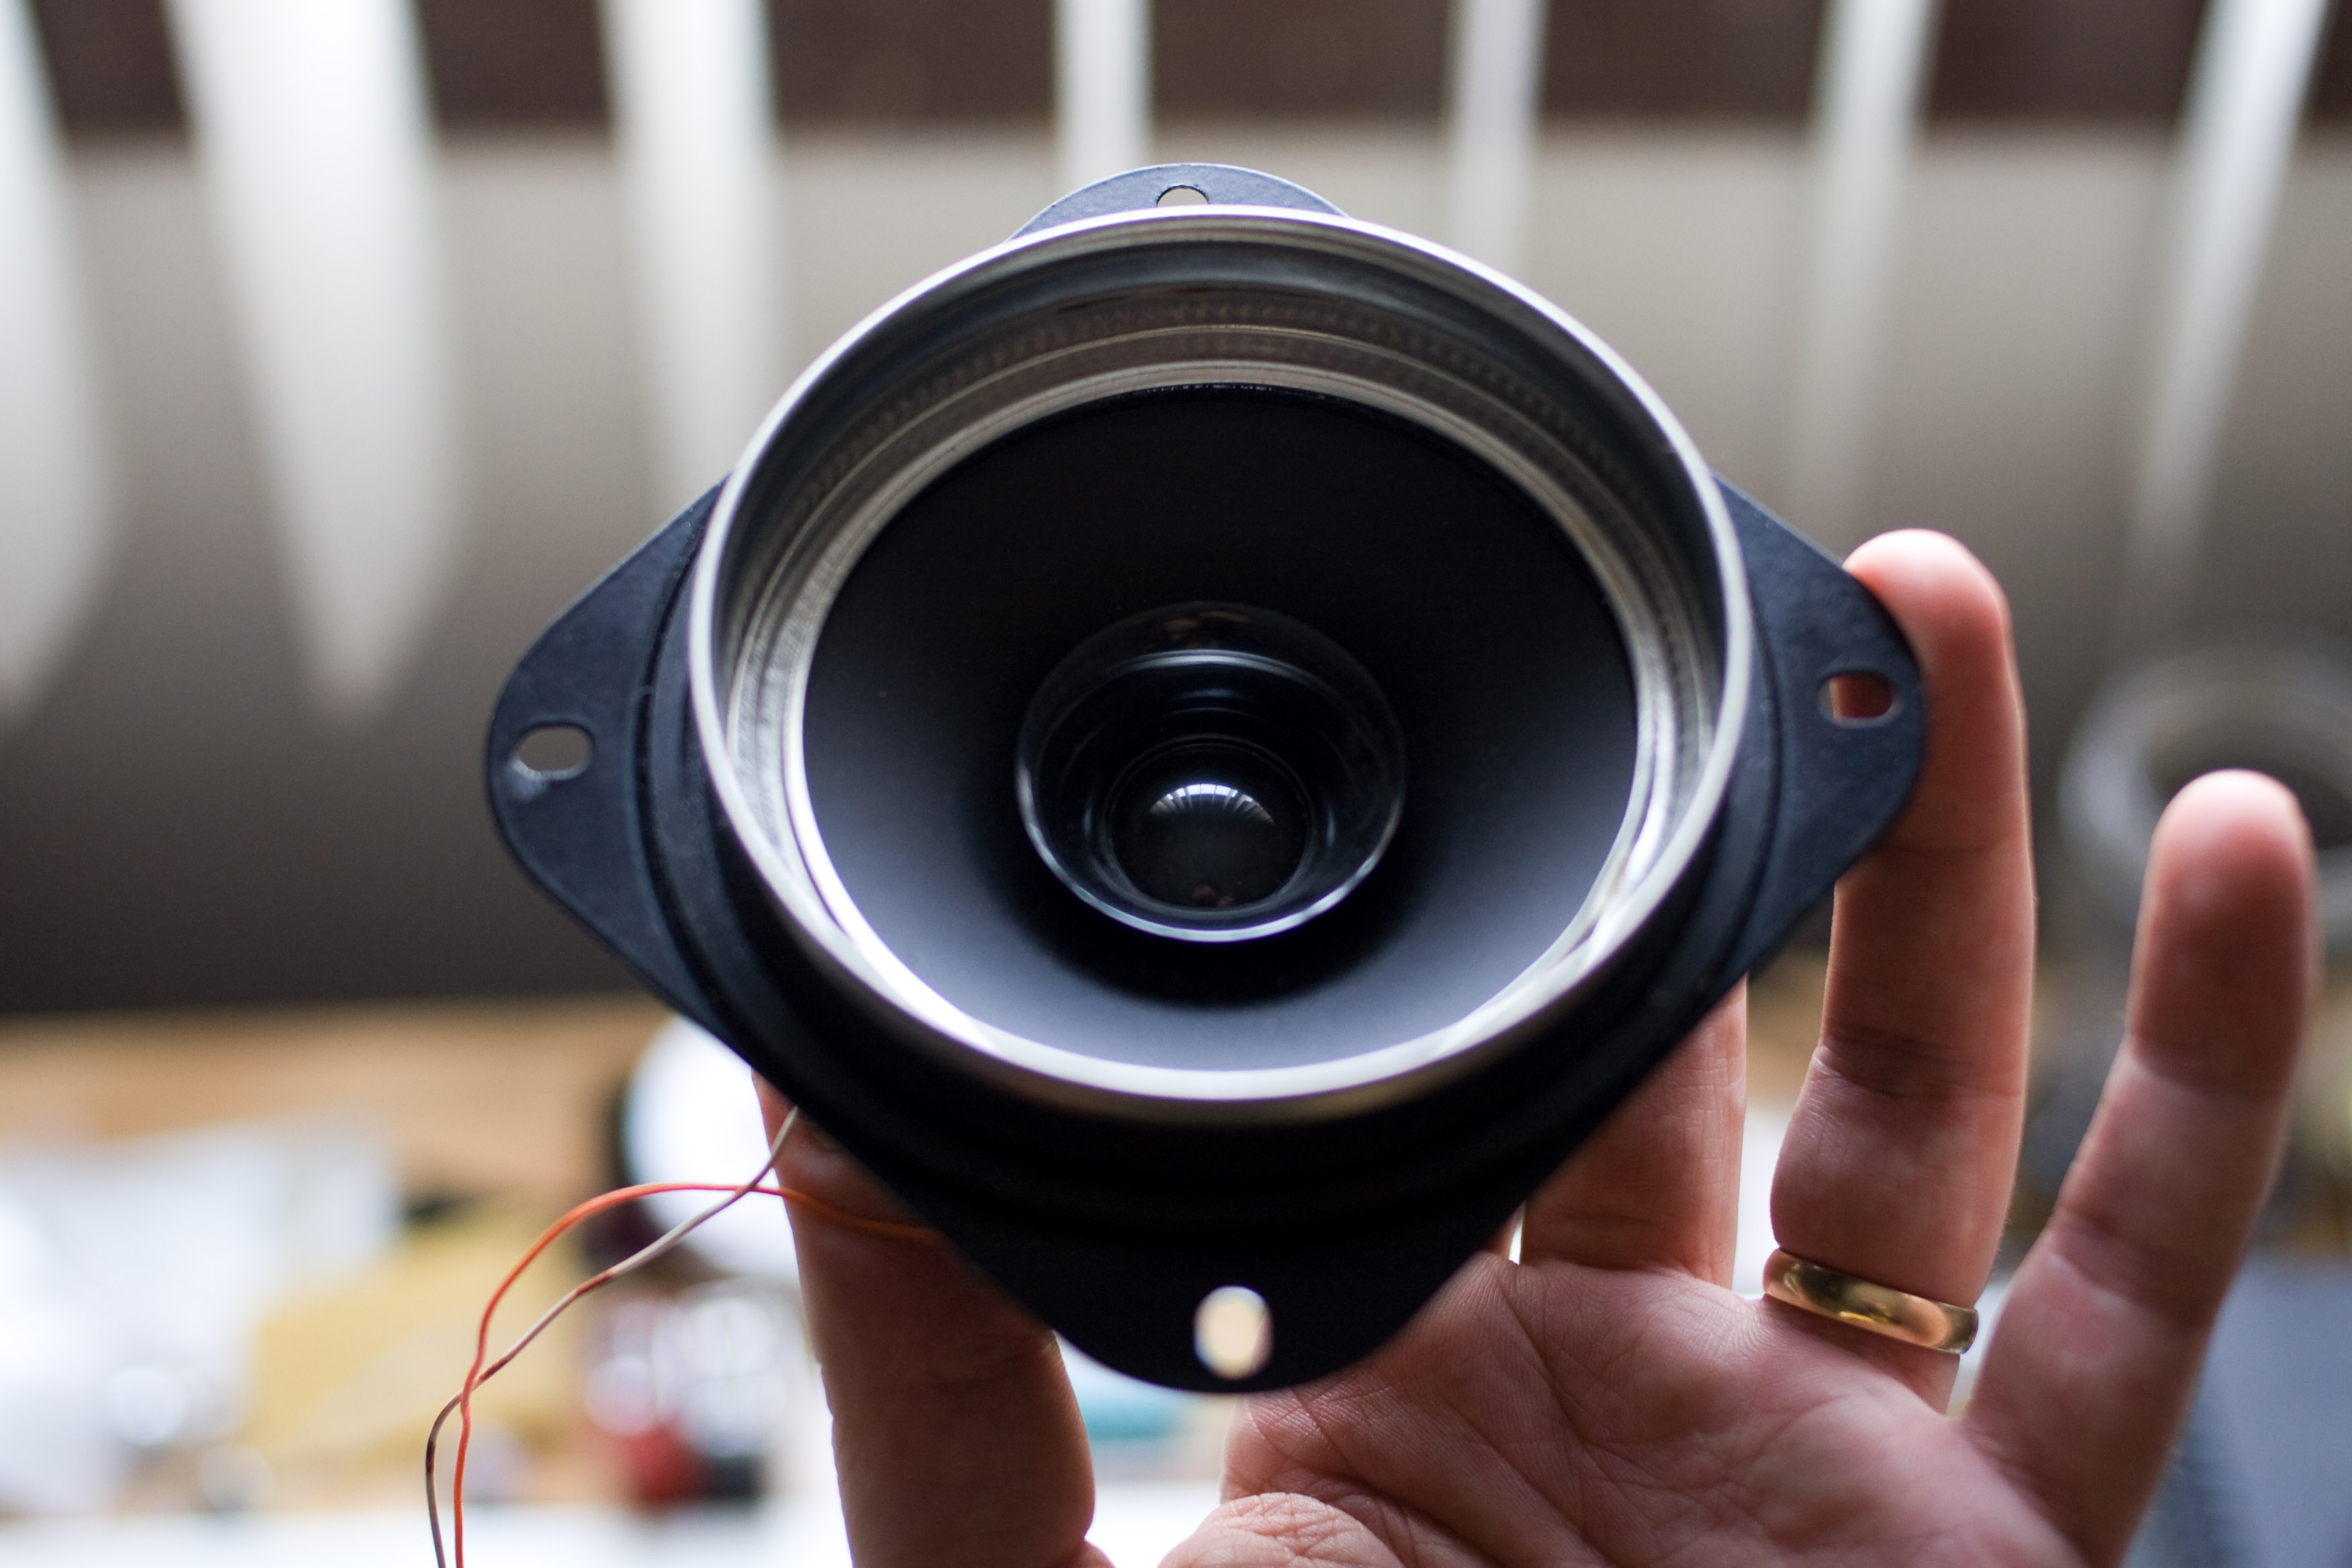
This is a wide mouth canning jar lid. The canning jar lid is just sitting on the speaker. No glue or tape or anything, I don't want to damage my speaker. The angle on this photo is funny, but I'm really just holding it flat, the speaker is pointing straight at the ceiling. |
|
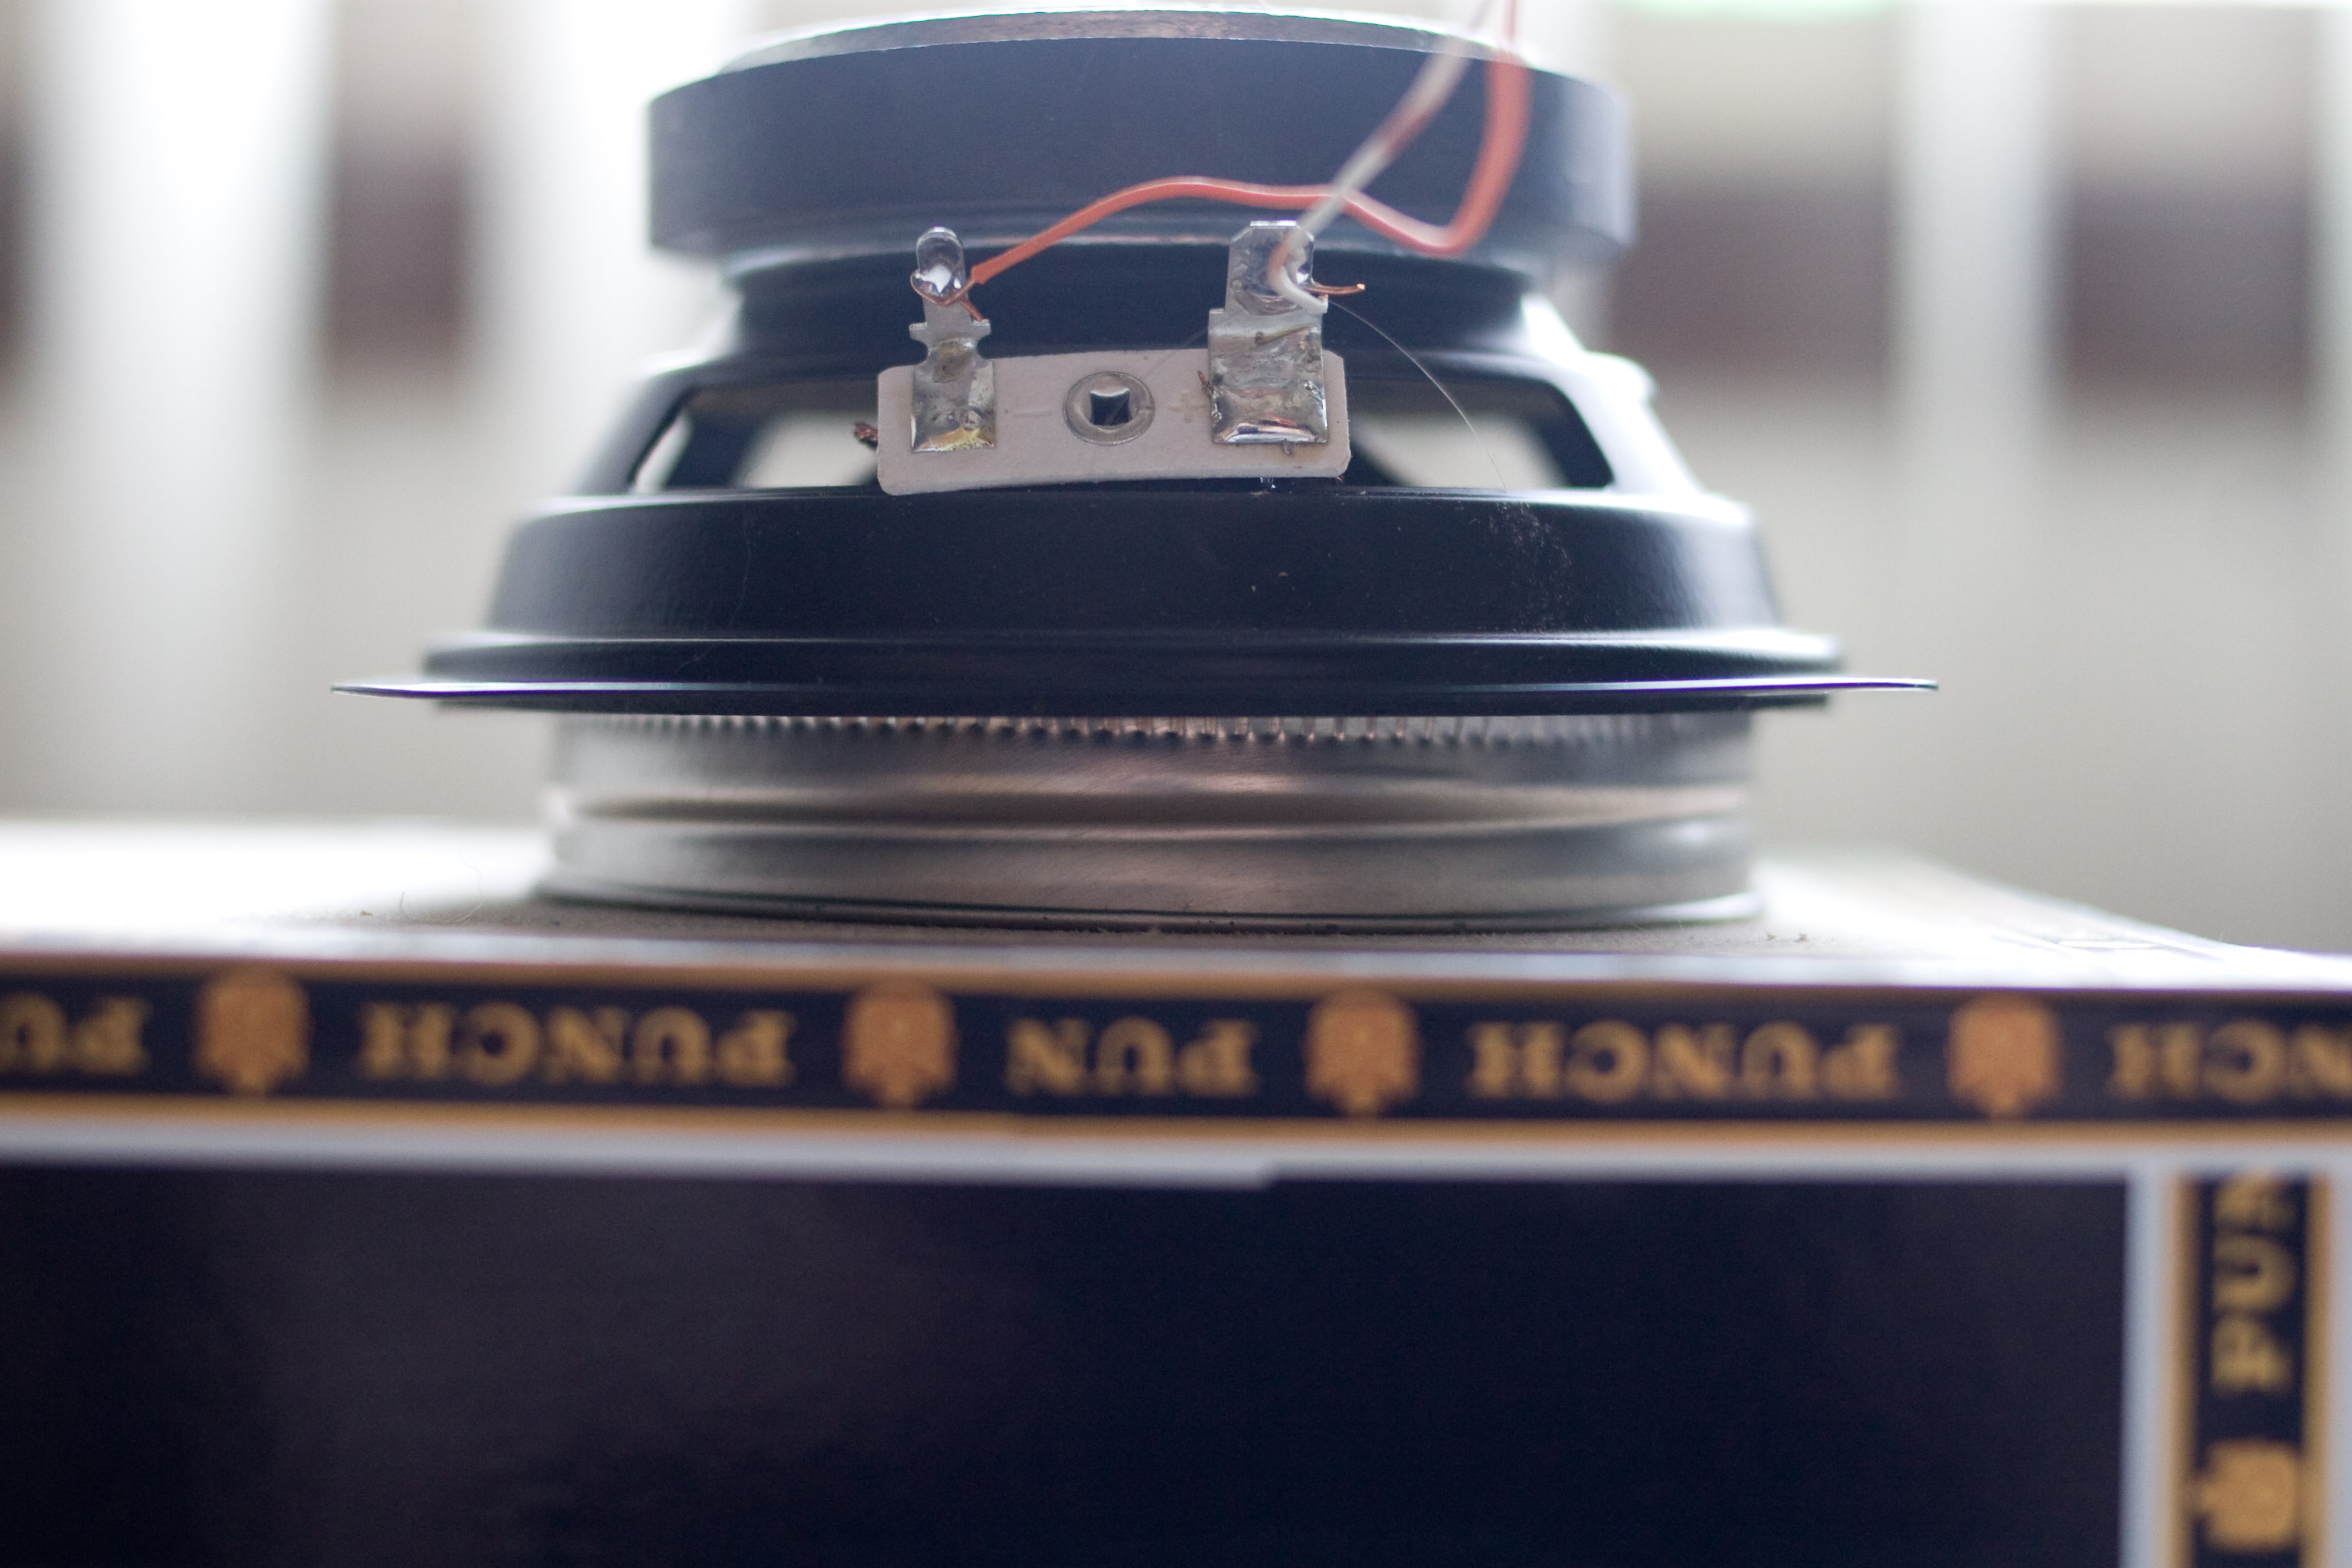
I inverted my speaker and canning jar lid... |
|
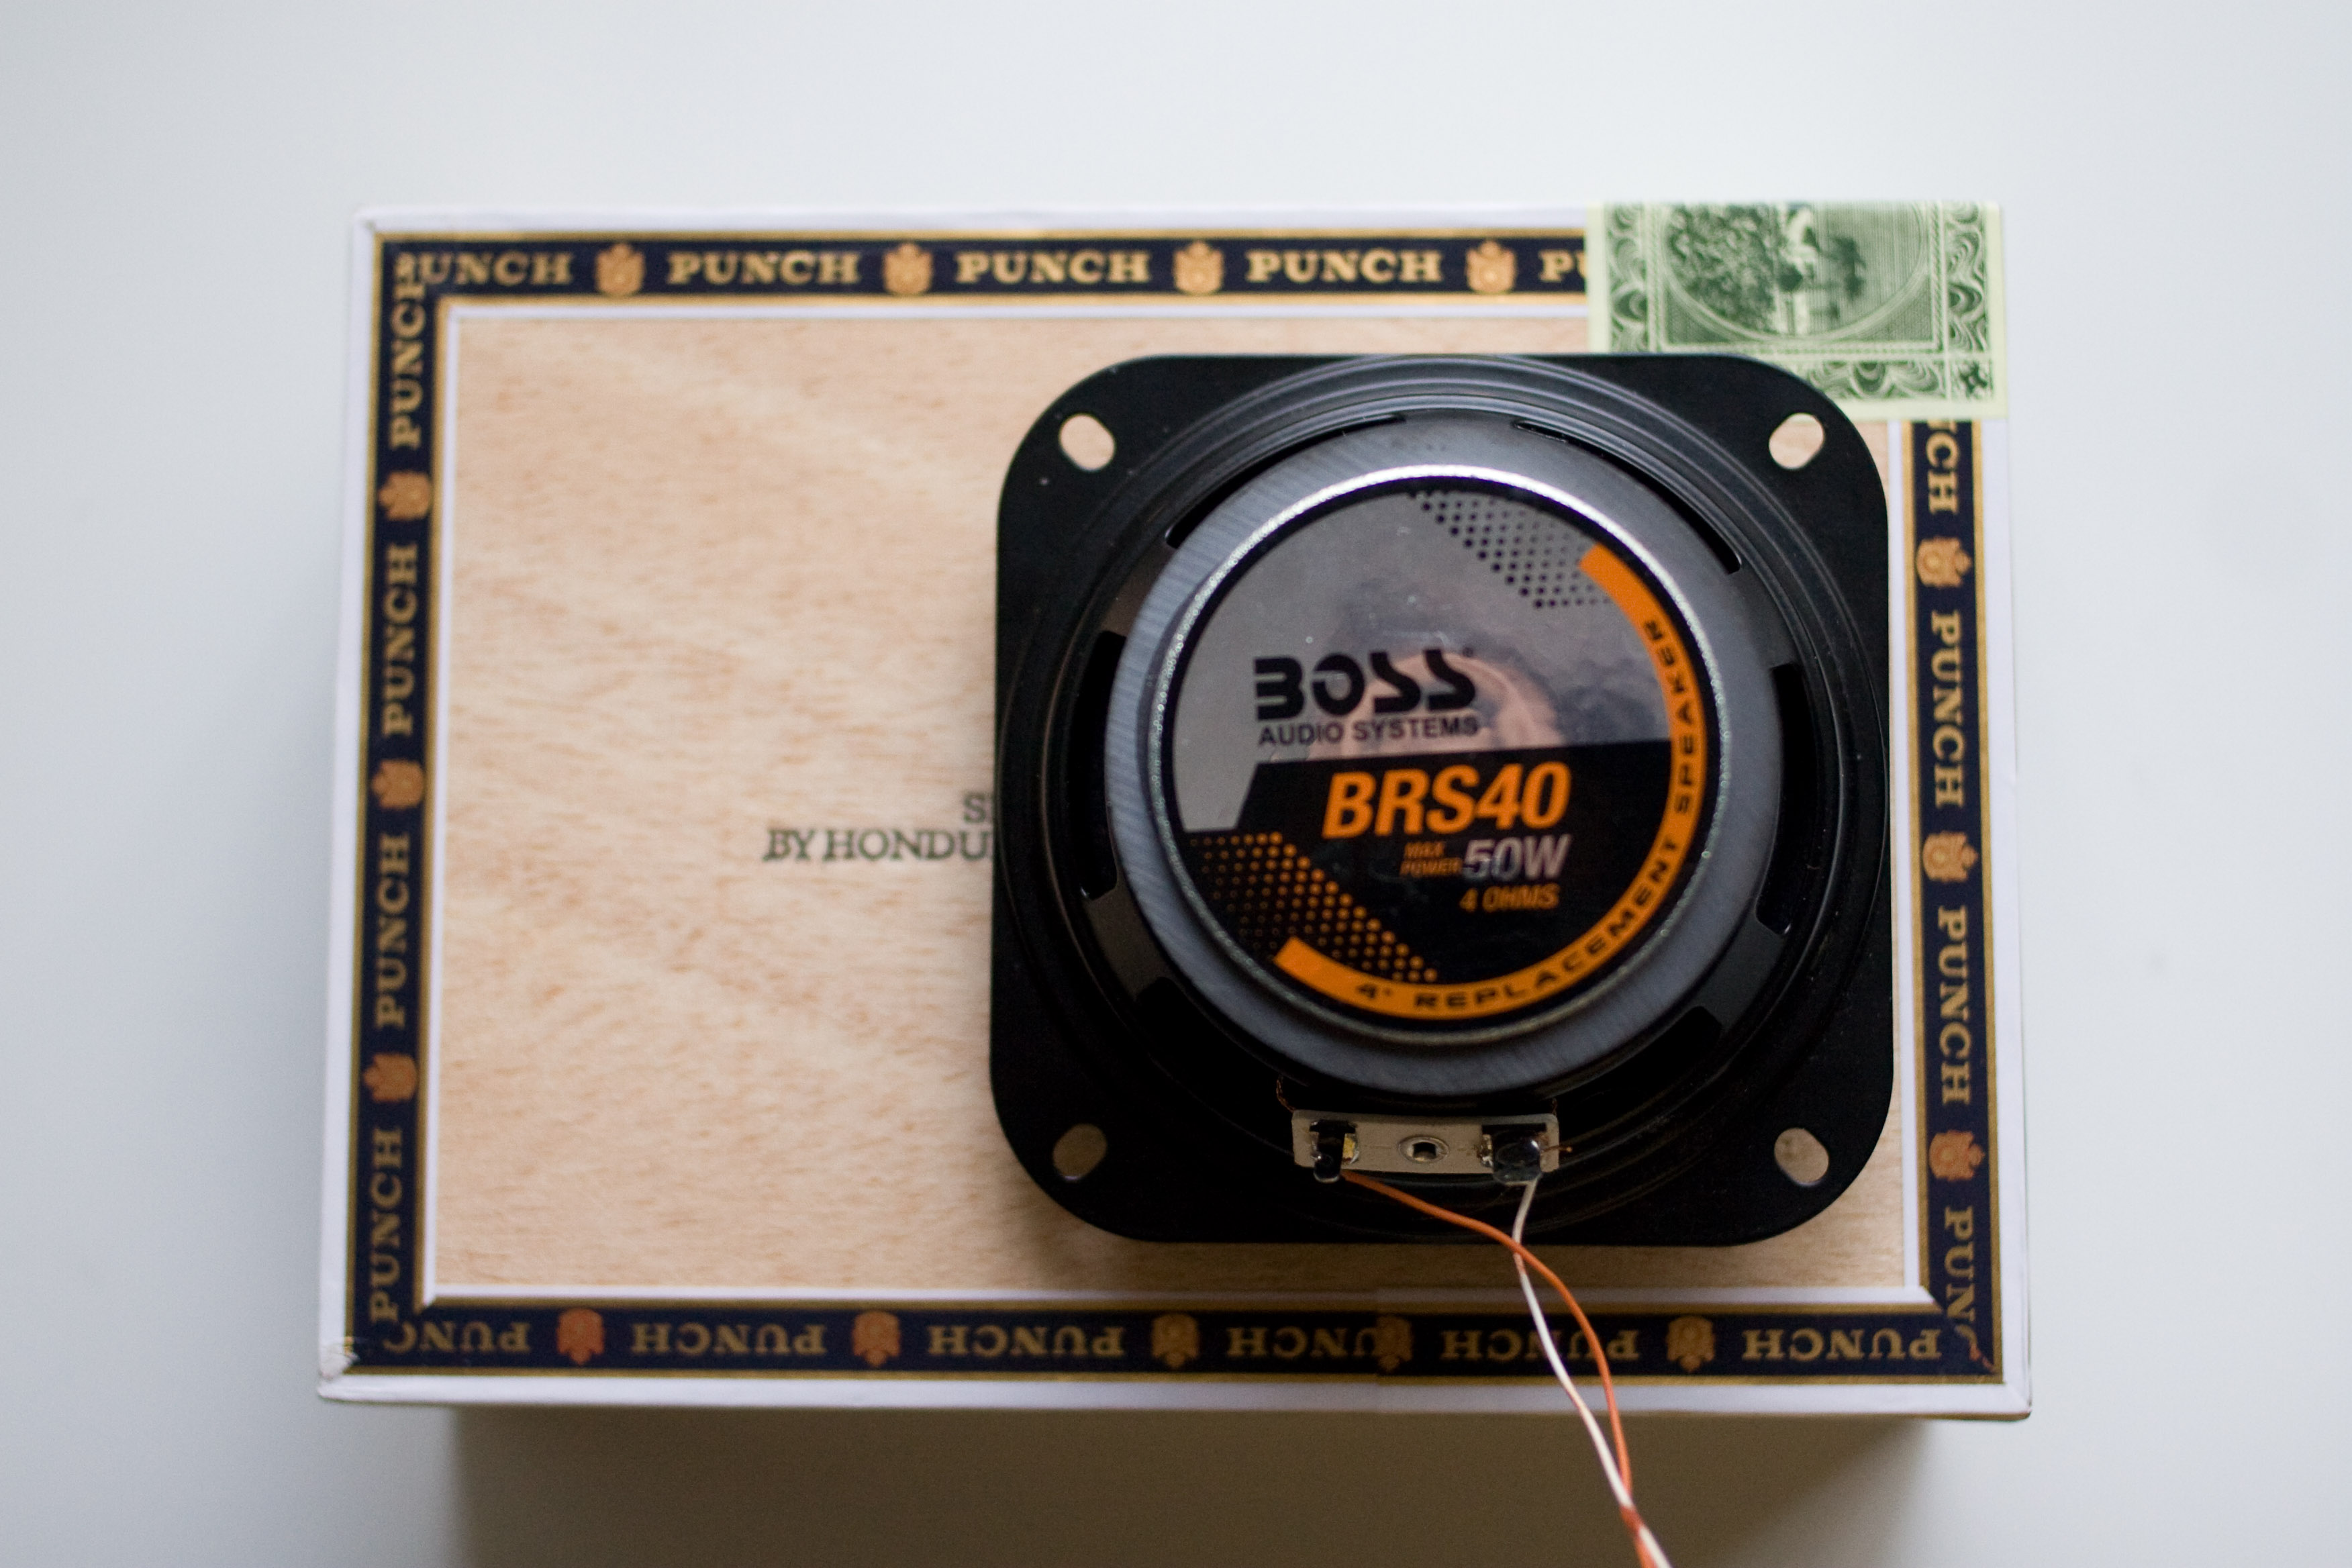
...then I lightly slid the contraption around on the top of my cigar box until I figured out exactly where I wanted the screw holes to be. |
|
The wood on the back of this box is very soft; I just lightly pressed the drill bit into the wood of the box to make a little mark. |
|
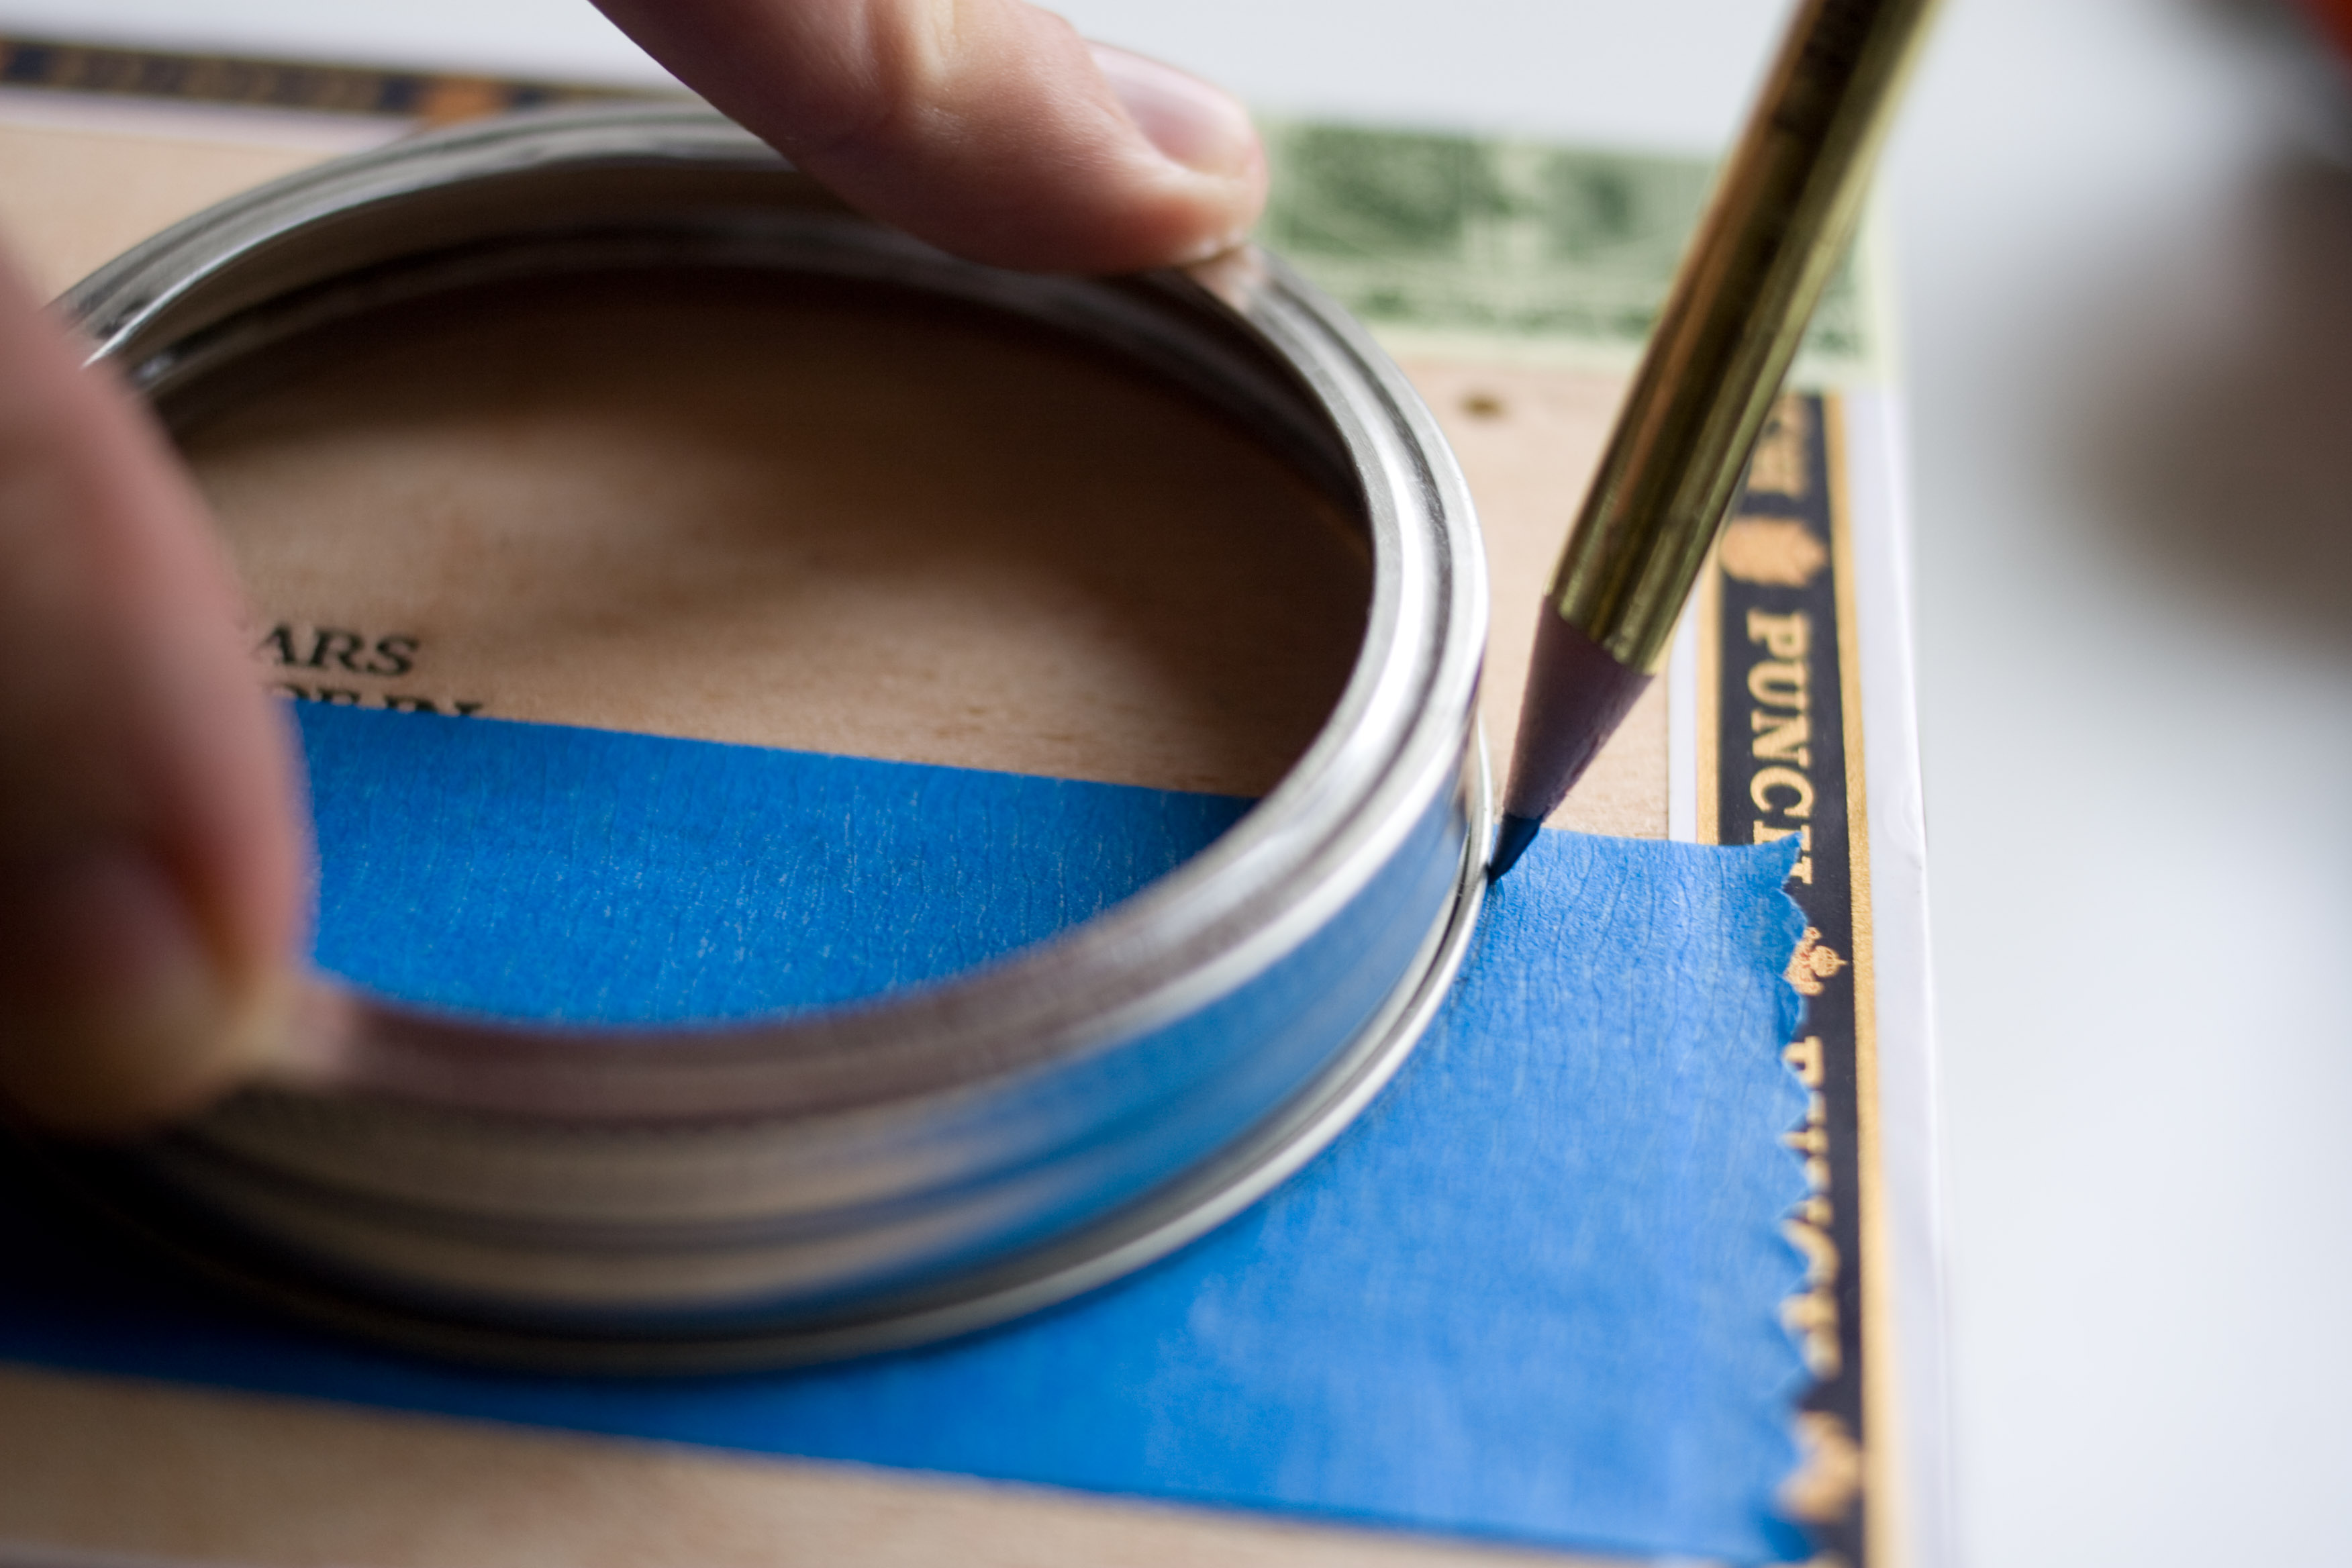
Then I lifted the speaker off, and carefully traced around the lid with a pencil. Very carefully, because if I move this jar lid at all, my guide circle is going to be off with regard to my screw holes. |
|
The next step is to clamp the box down in preparation for drilling. If I was using a power drill I would use two clamps, but I'm using a hand drill so I have a little more control and a lot less torque to worry about. One thing to watch out for, it's really easy to over clamp a box and crack, bend, or even shatter it! What happens to me is the box is firmly, firmly clamped to the surface, but the clamp has way less tension than I expect. So I mindlessly keep turning and then SNAP. After the box was clamped, I carefully lined up the speaker mounting holes with the marks that I made in the earlier step. |
|
And I drilled the holes. The reason why I re-lined up my speaker over the holes, instead of just drilling out the marks, is that I made two of the marks extremely faint by accident, and I couldn't actually tell where I was supposed to drill. Having the speaker there also serves as a last minute sanity check for the hole placement. |
|
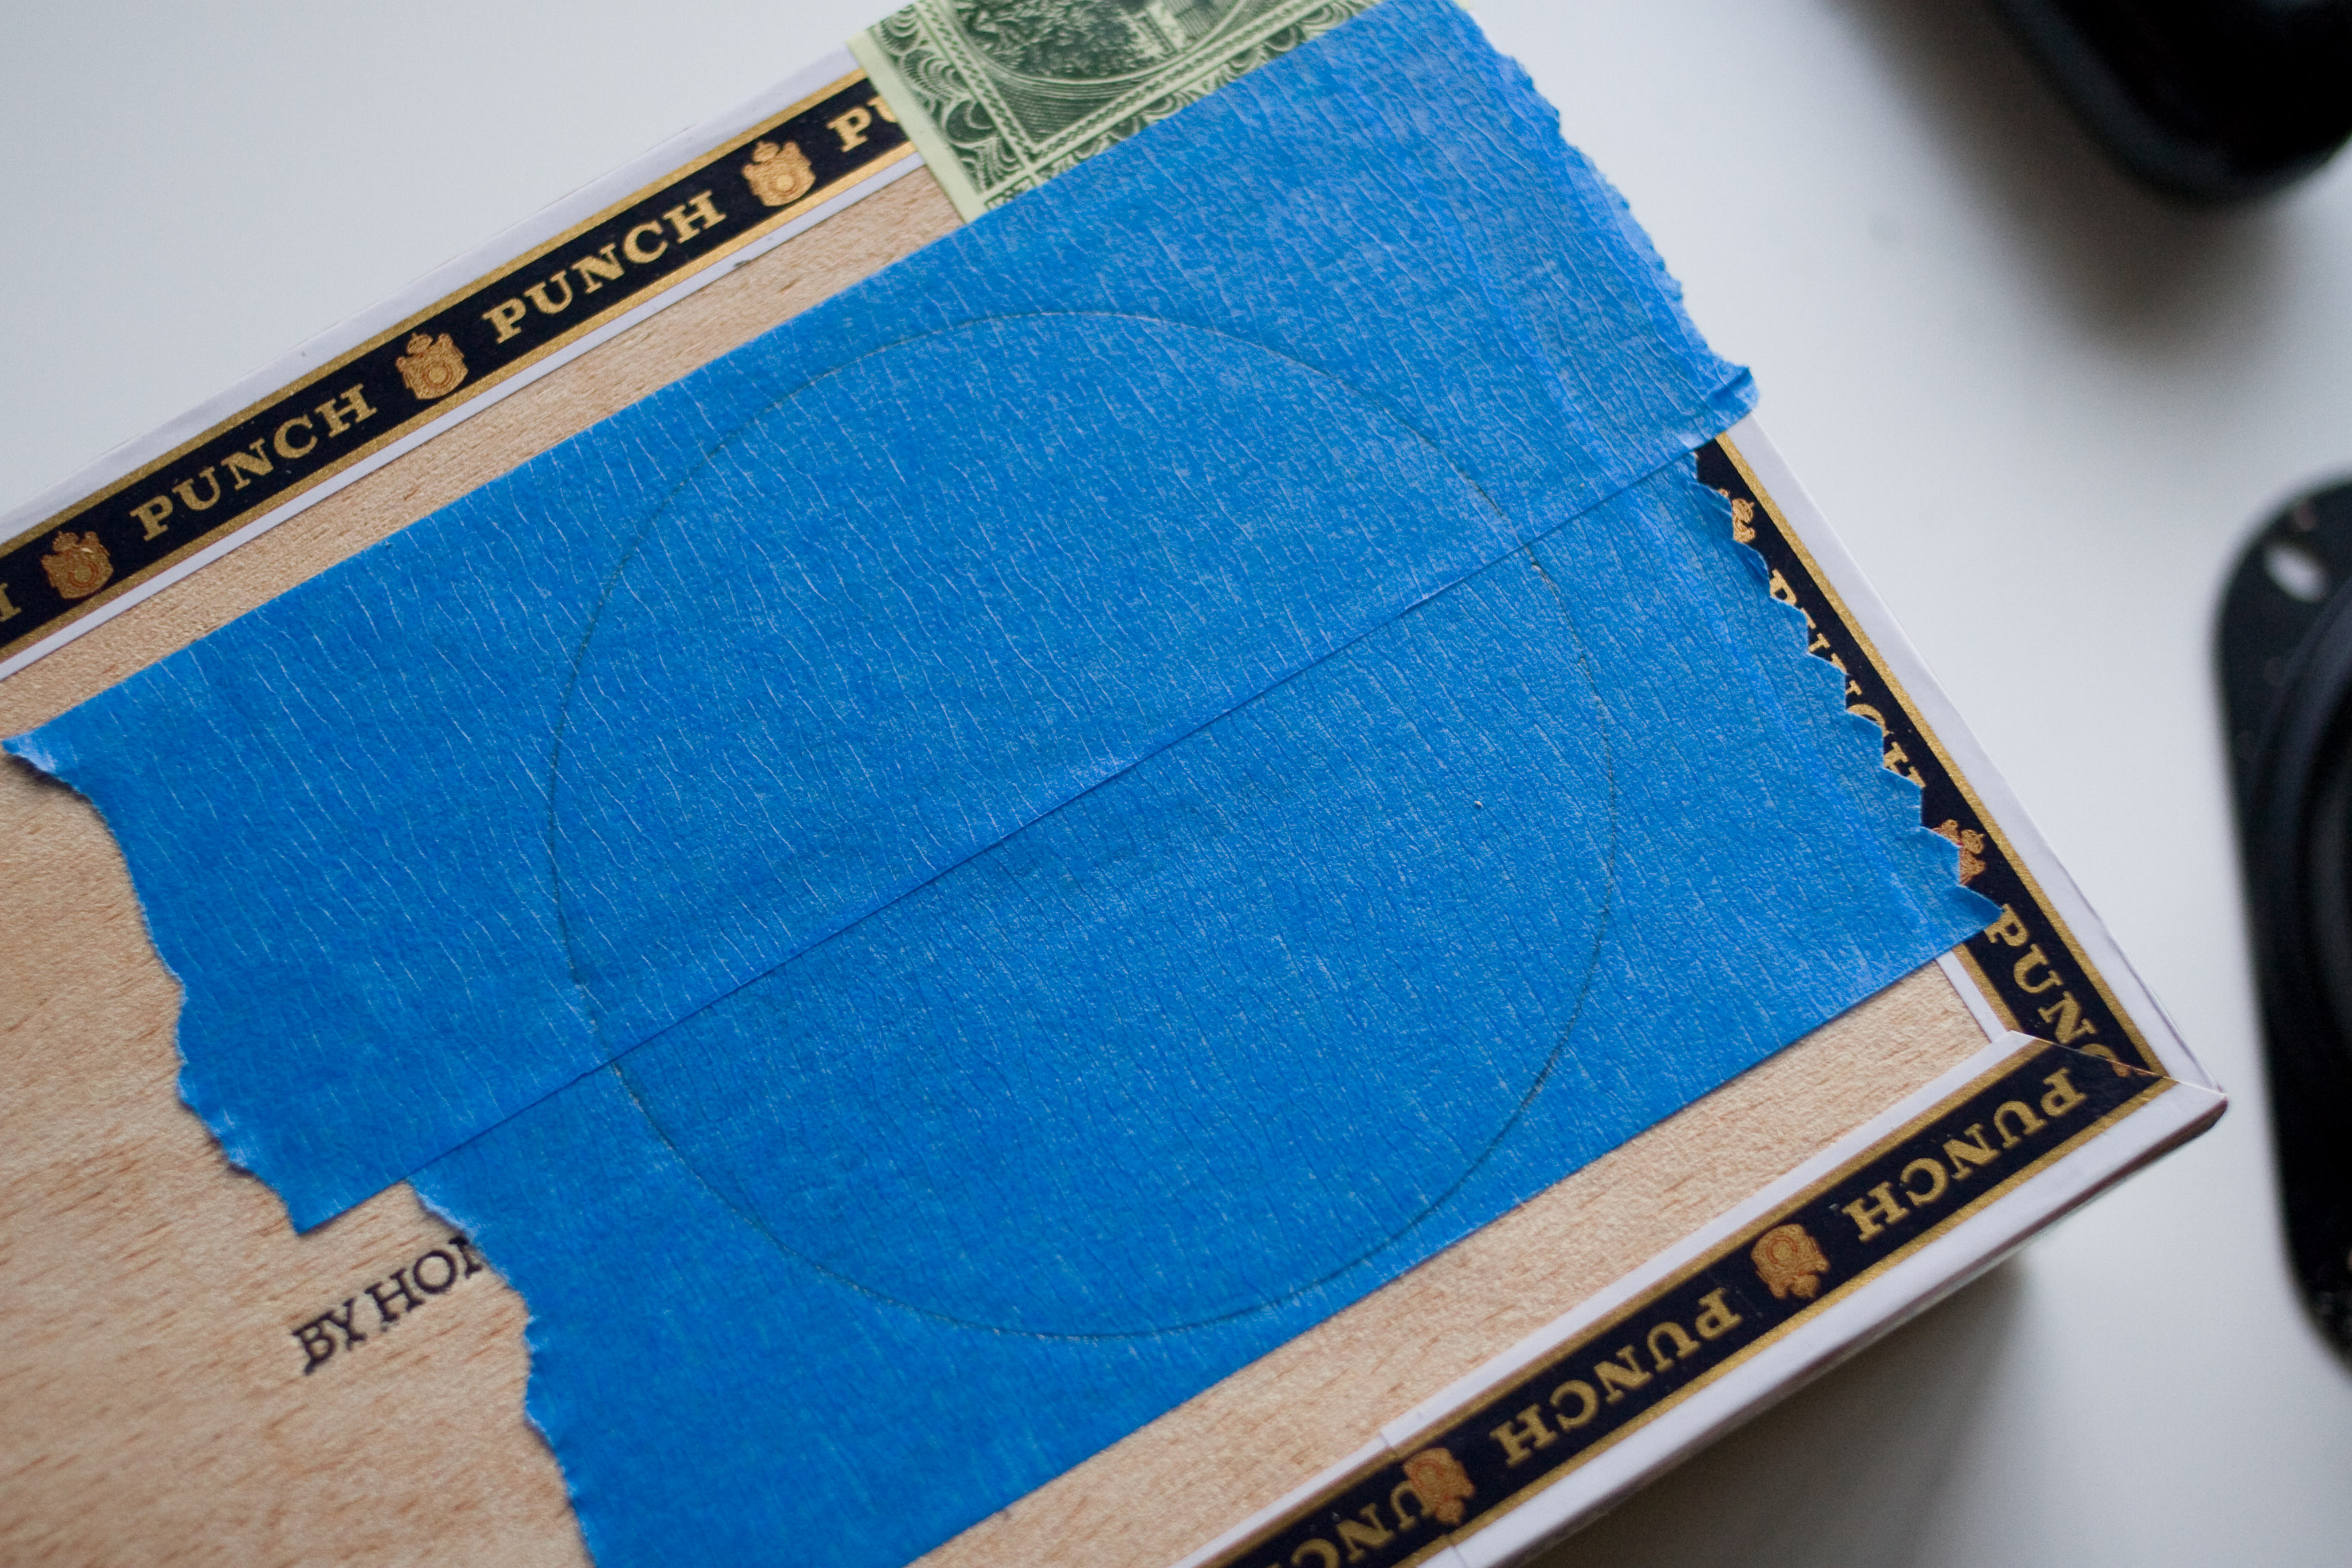
When drilling out the holes, I noticed a little bit of tearout. It won't be a big deal because it will be covered by the screws, but I'd like to avoid it if possible for the speaker grill holes themselves. So I put down painter's tape to try to mitigate the damage. This means I have to transfer my guide circle, one half at a time. |
|
The completed guide circle. The line falls just on the outer edge of the rubber surround of the speaker, so I want to keep my holes in from the line a bit. |
|
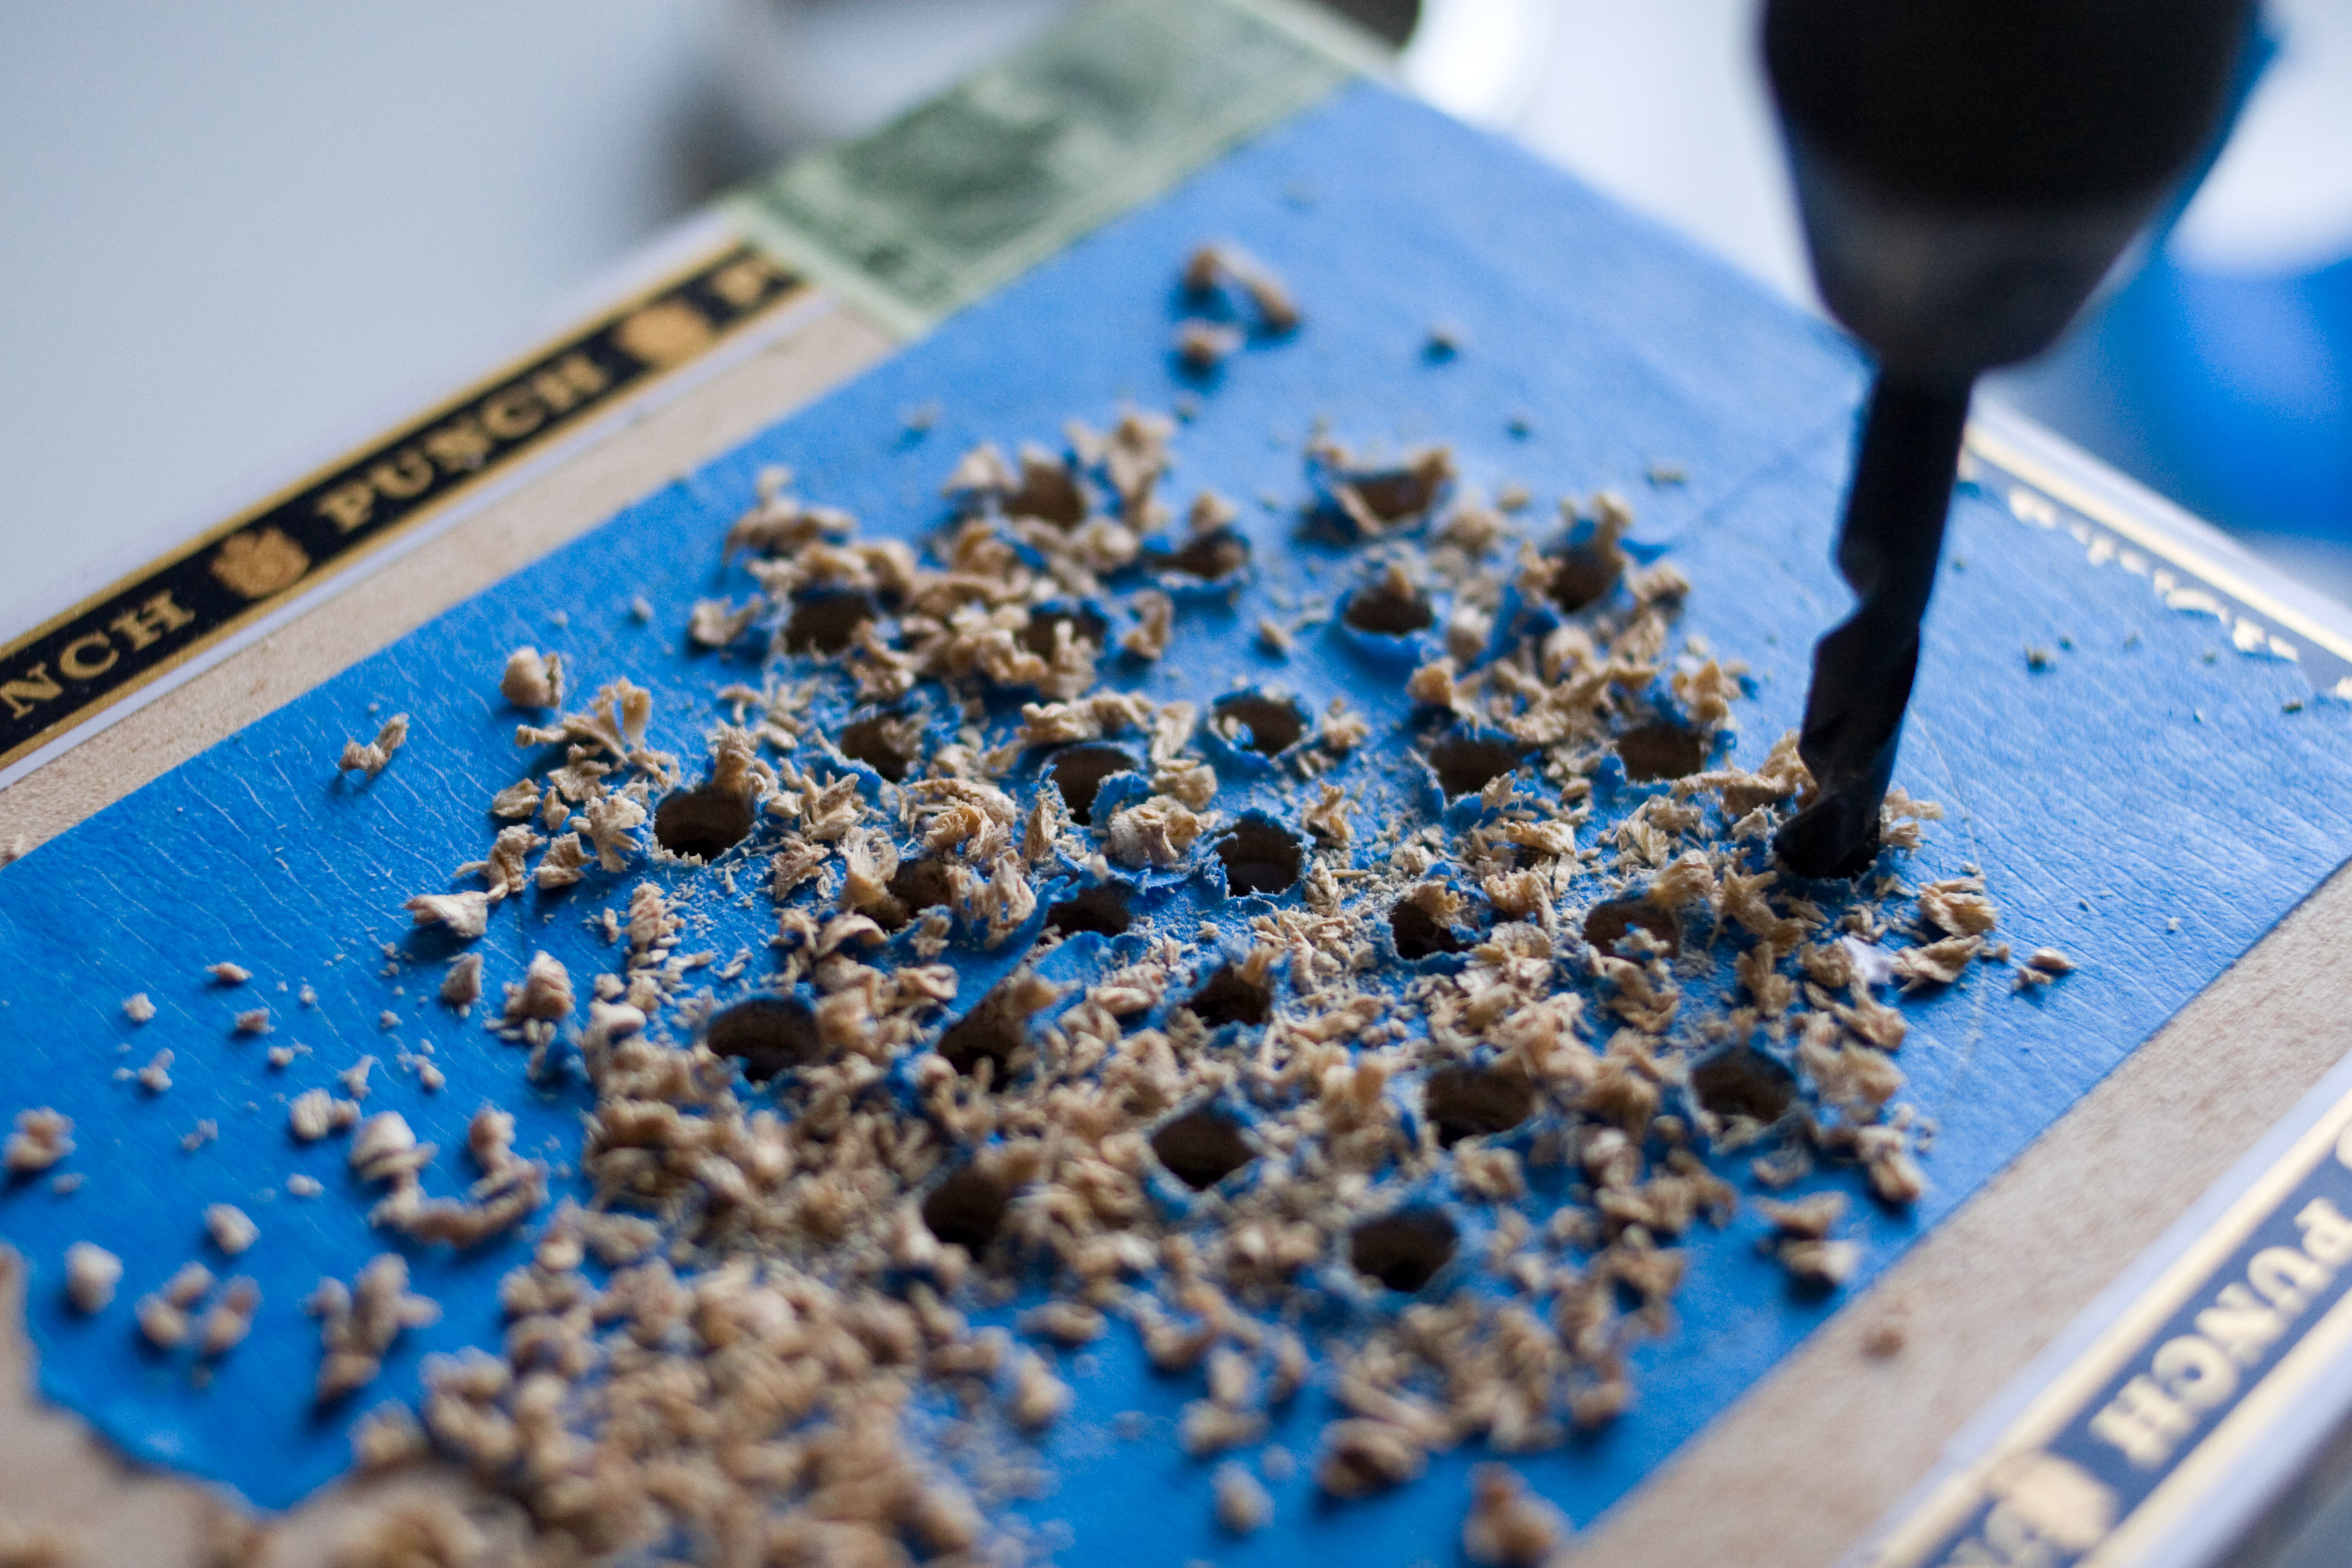
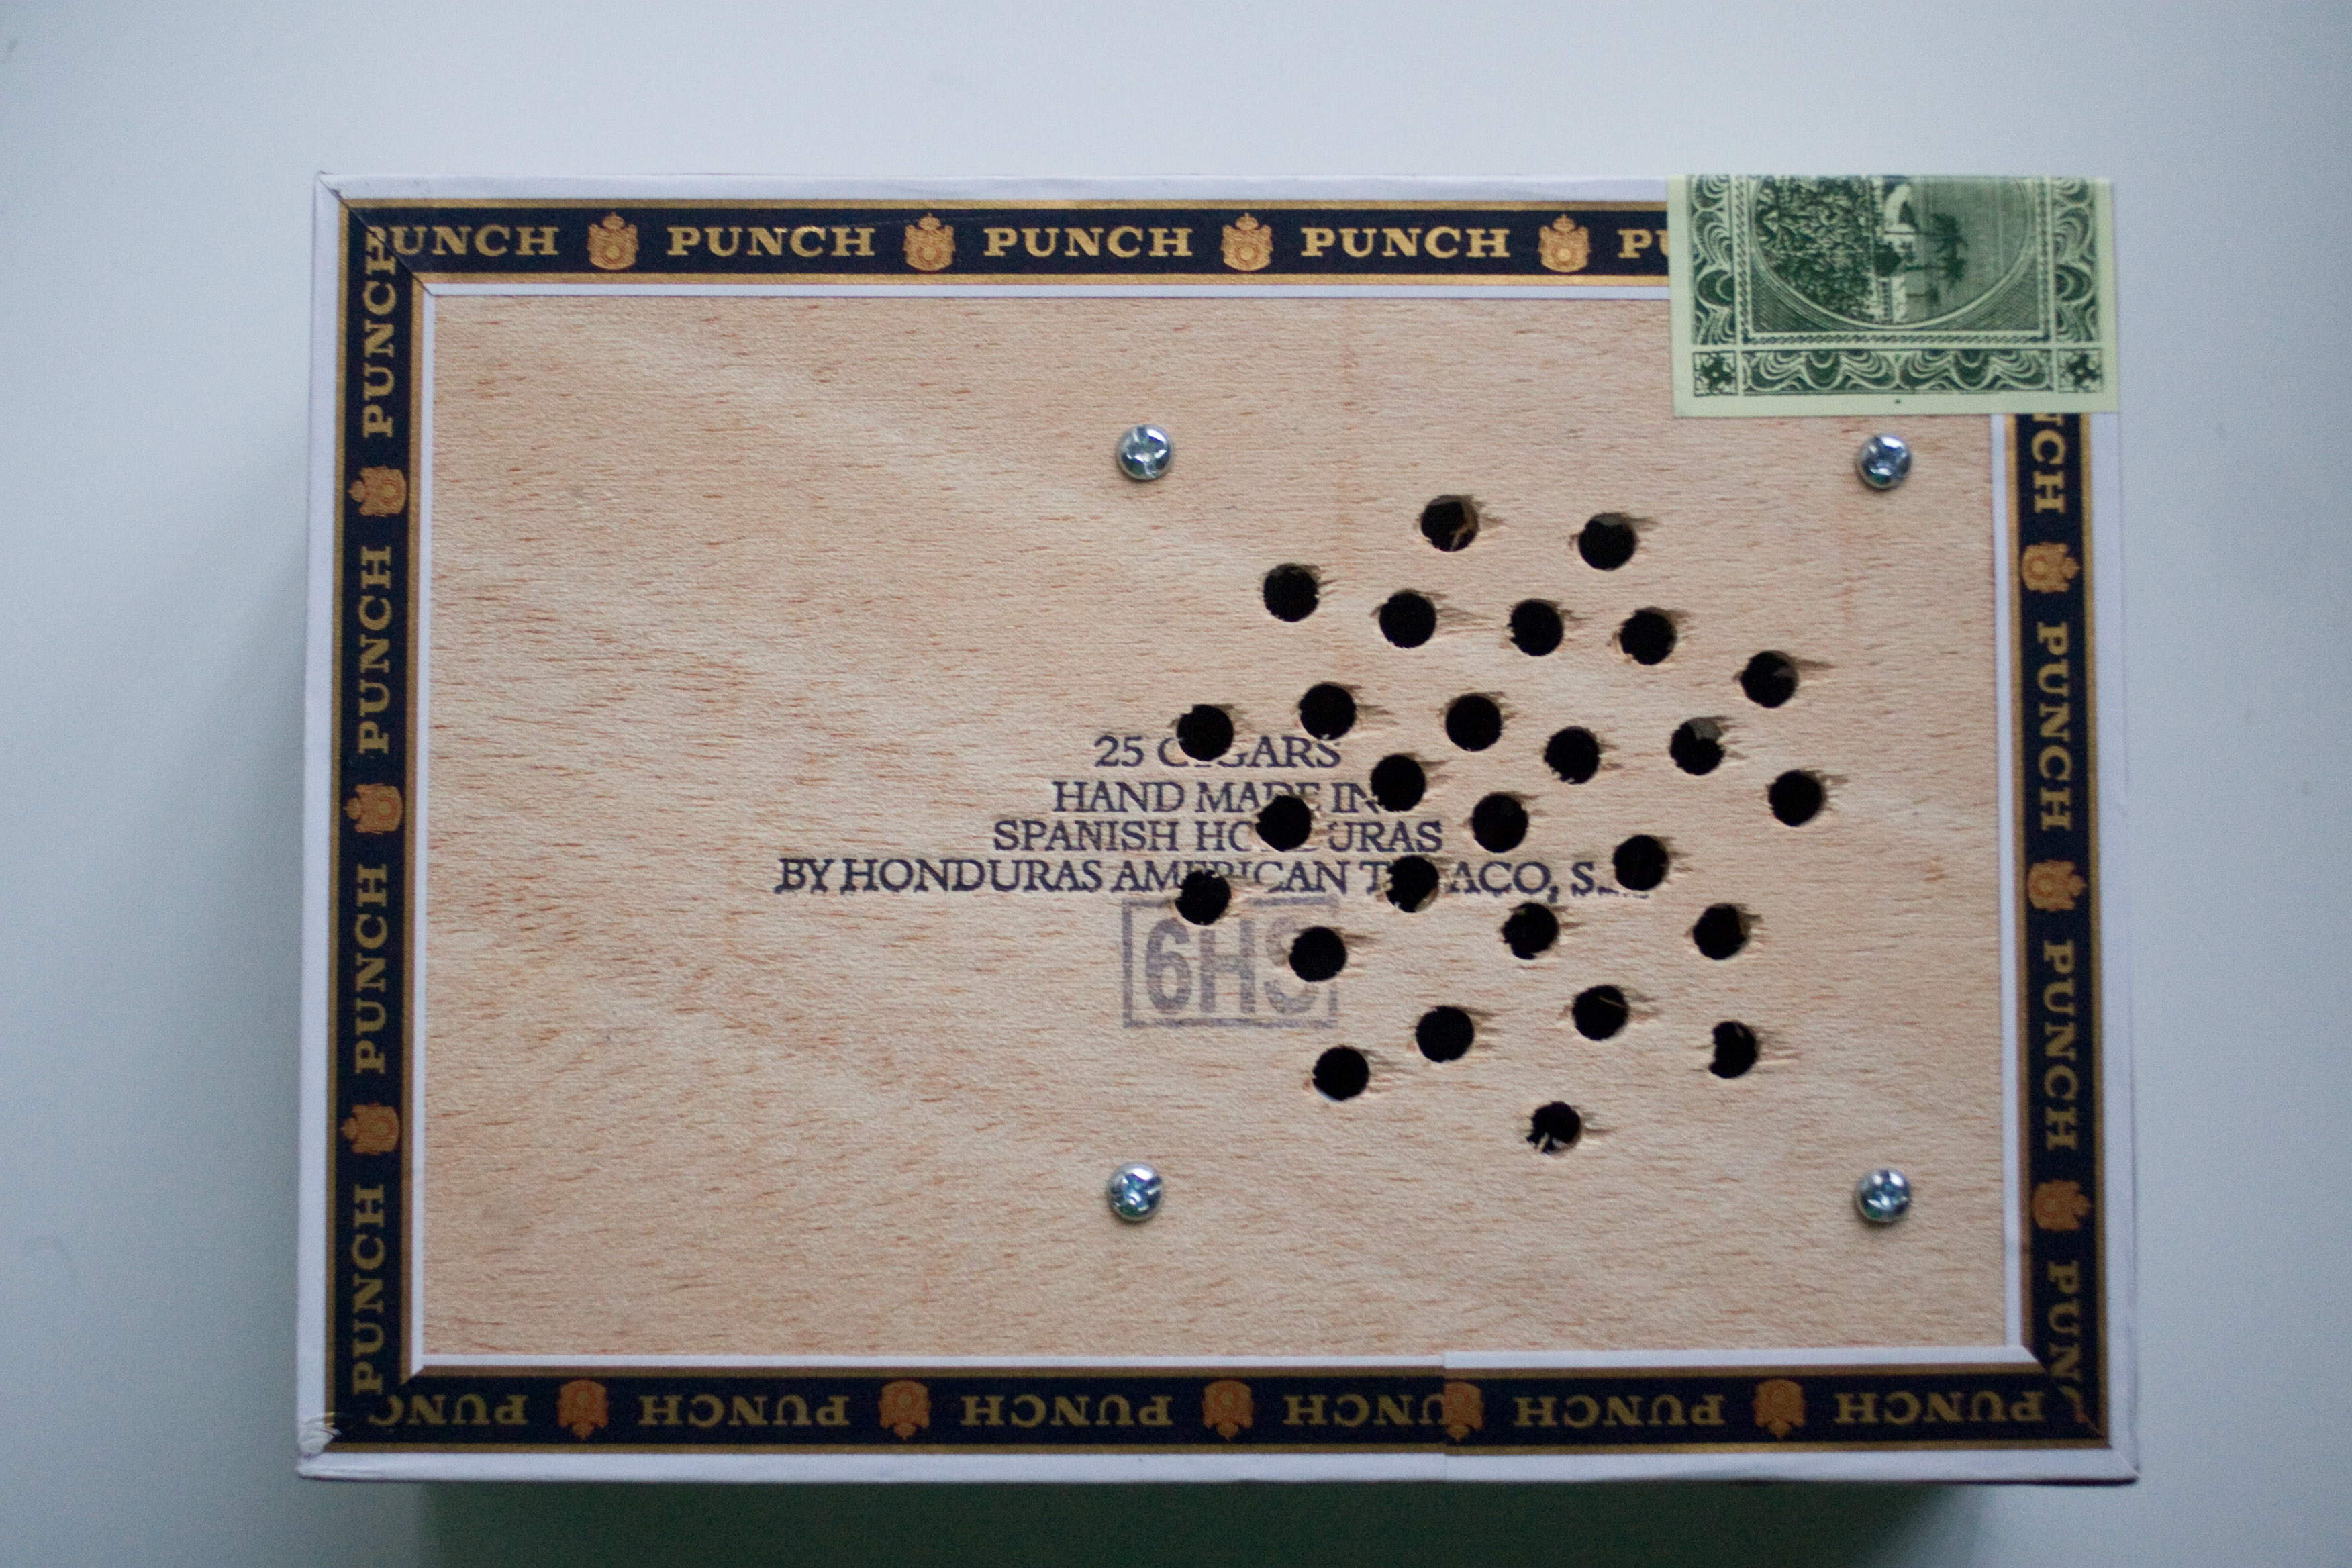
I was going to try for a spiral shape for the holes but I probably should have used a smaller bit. With the big bit, the spiral effect wasn't working too well so I just started drilling holes randomly. |
|
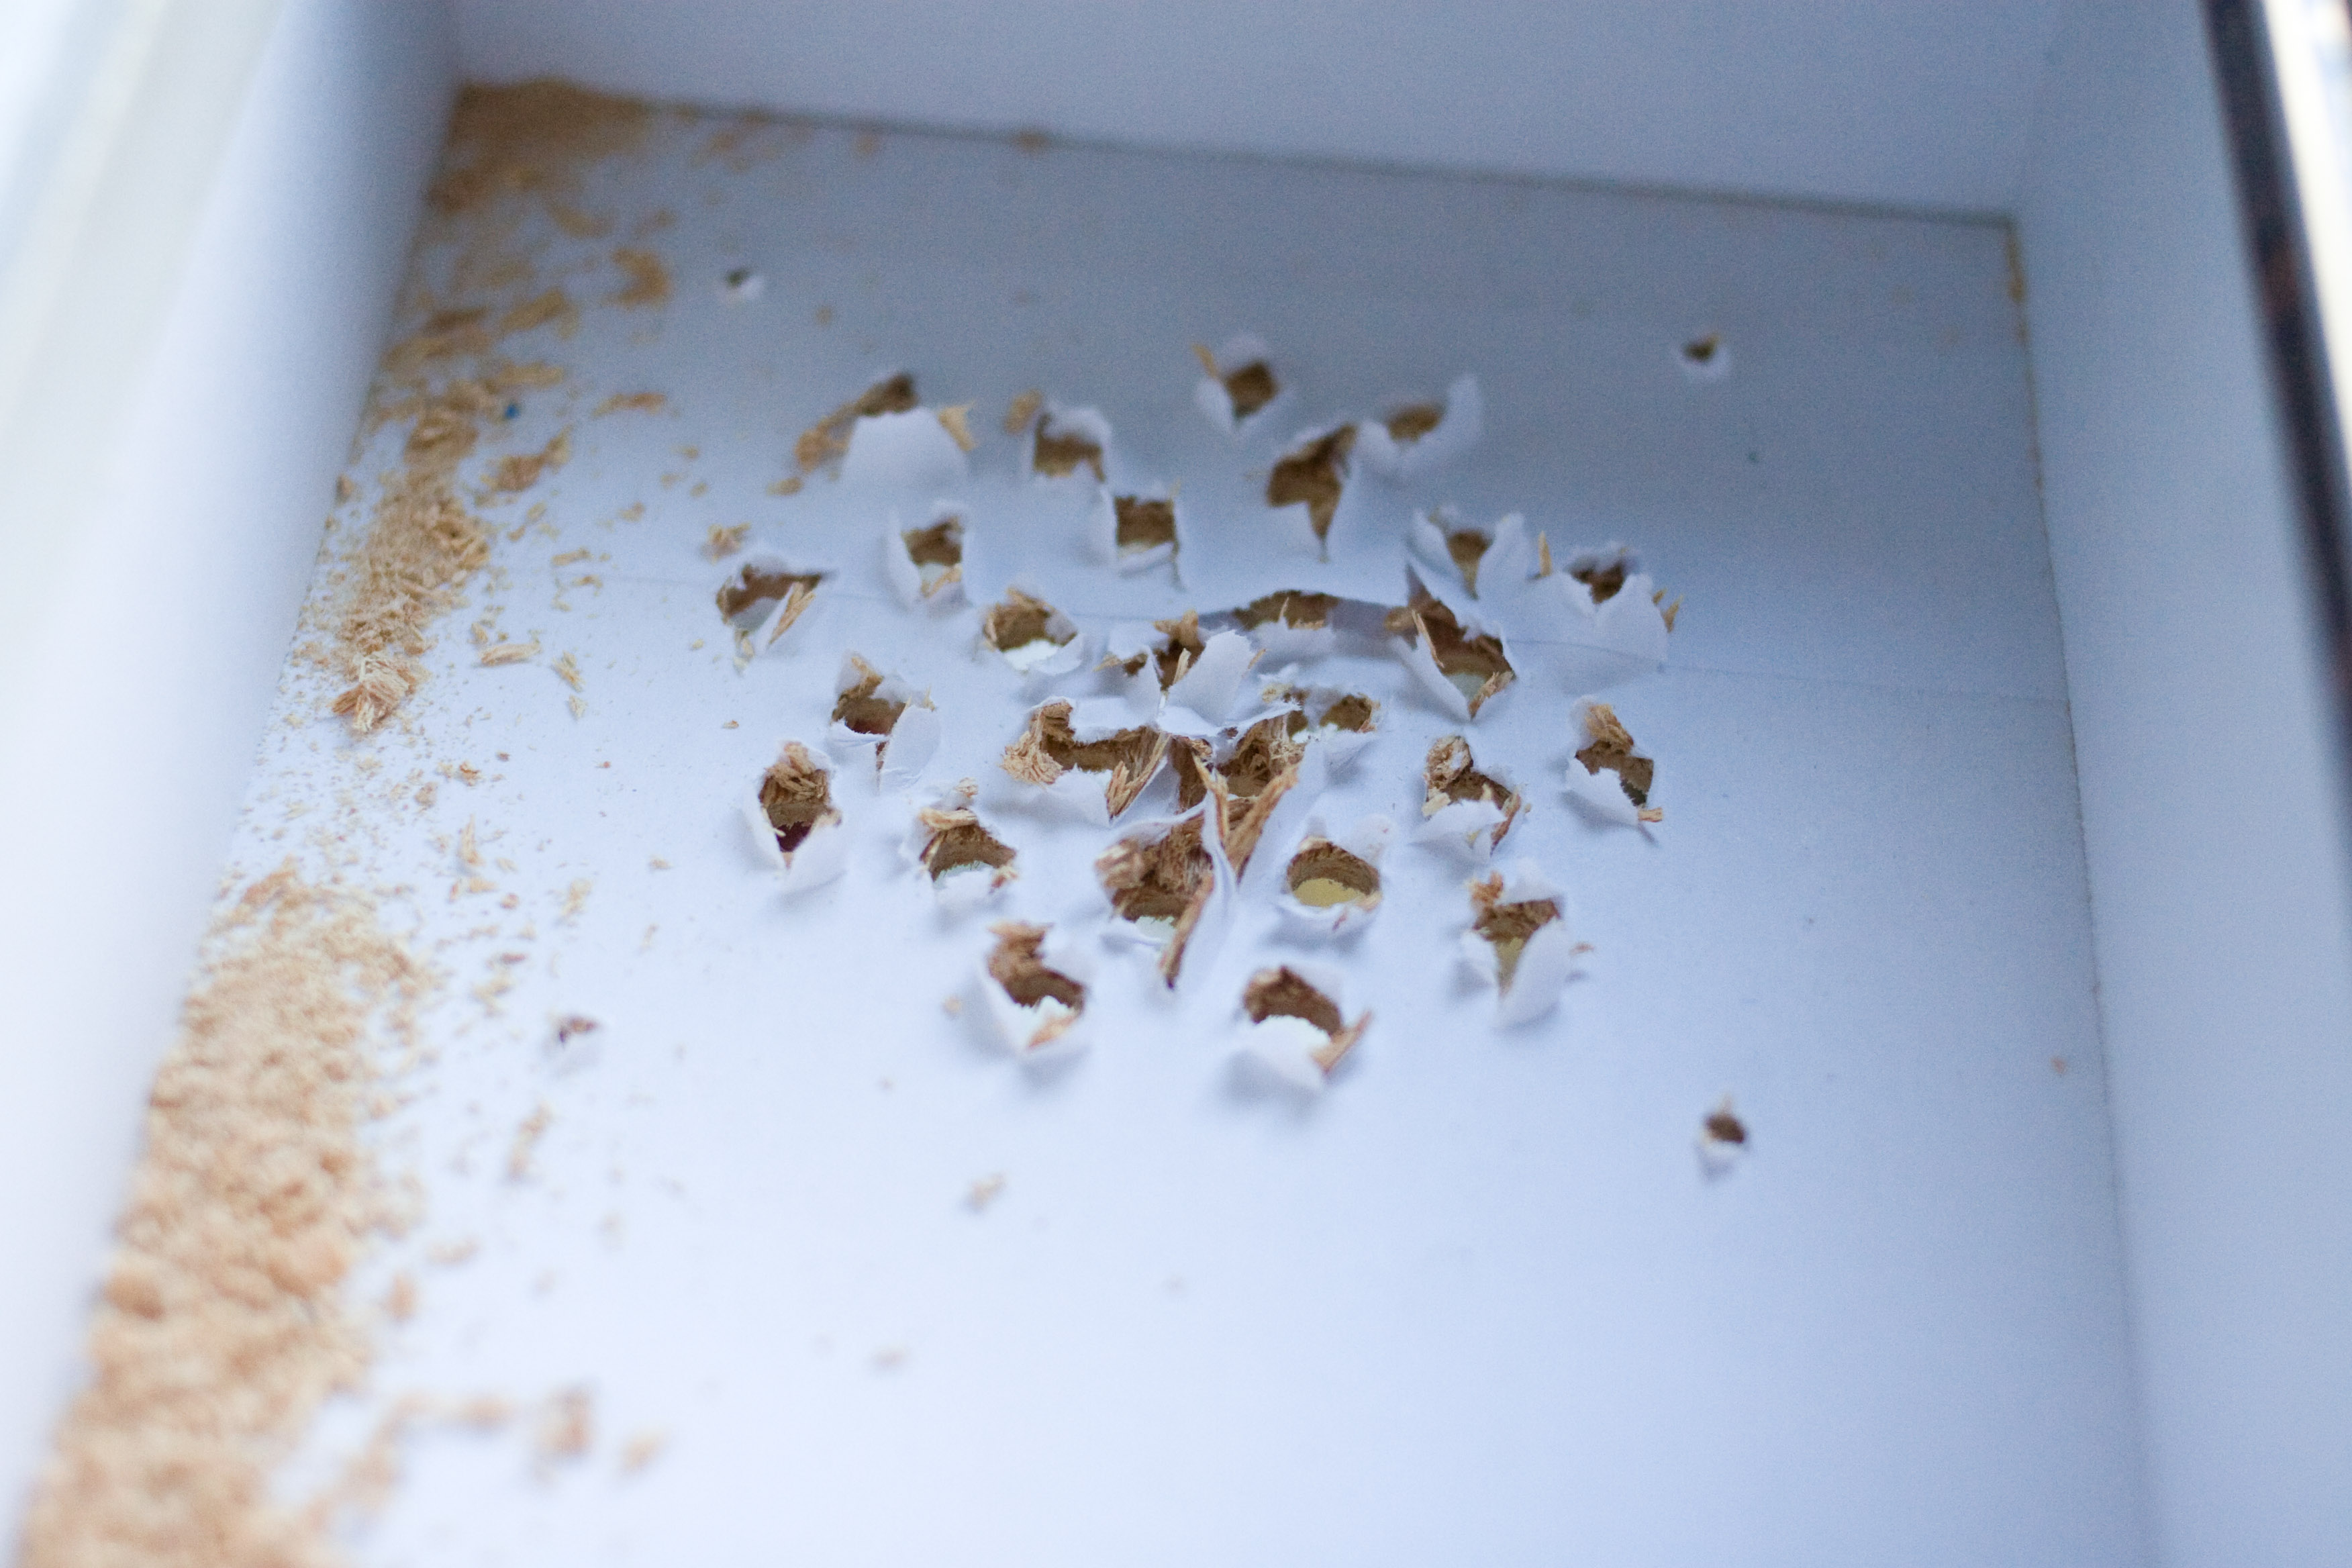
Still got some tearout. Darn. I'll have to remove all of those jaggy bits by hand which is tedious. |
|
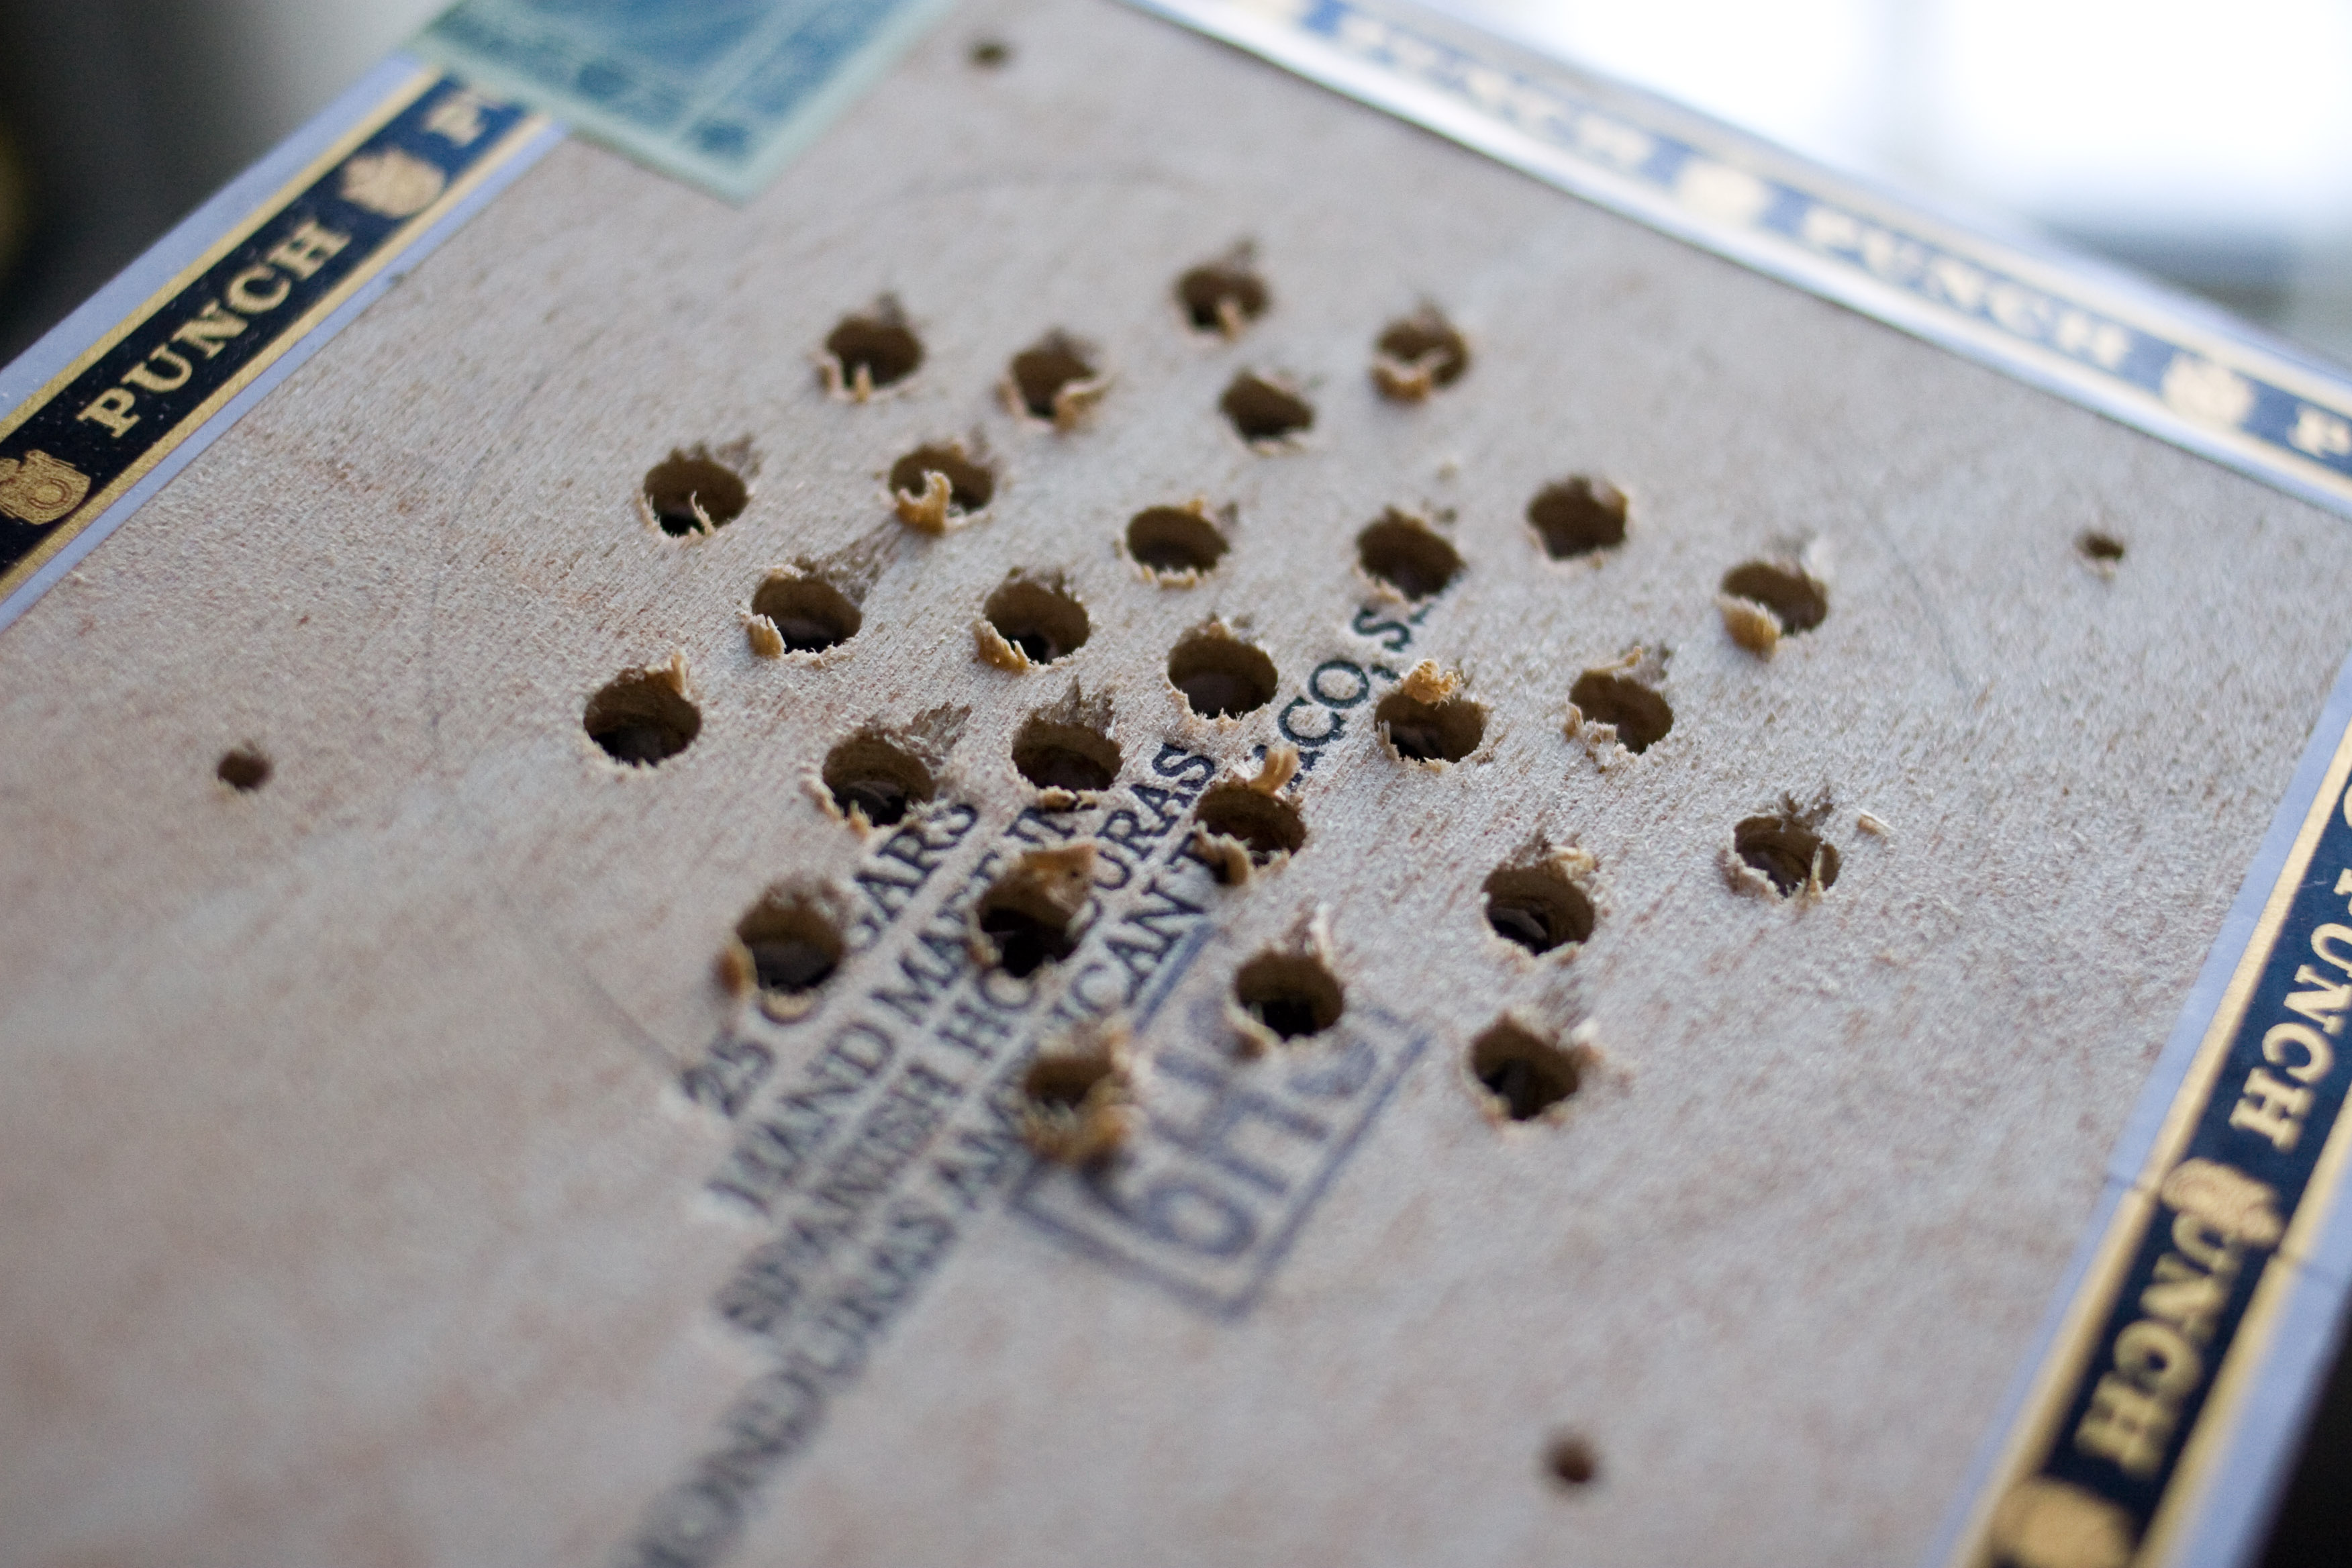
And wow, that's a lot of tearout on the back side! I was hoping the paper glued to the wood would help hold the edges of the hole together but no dice. |
|
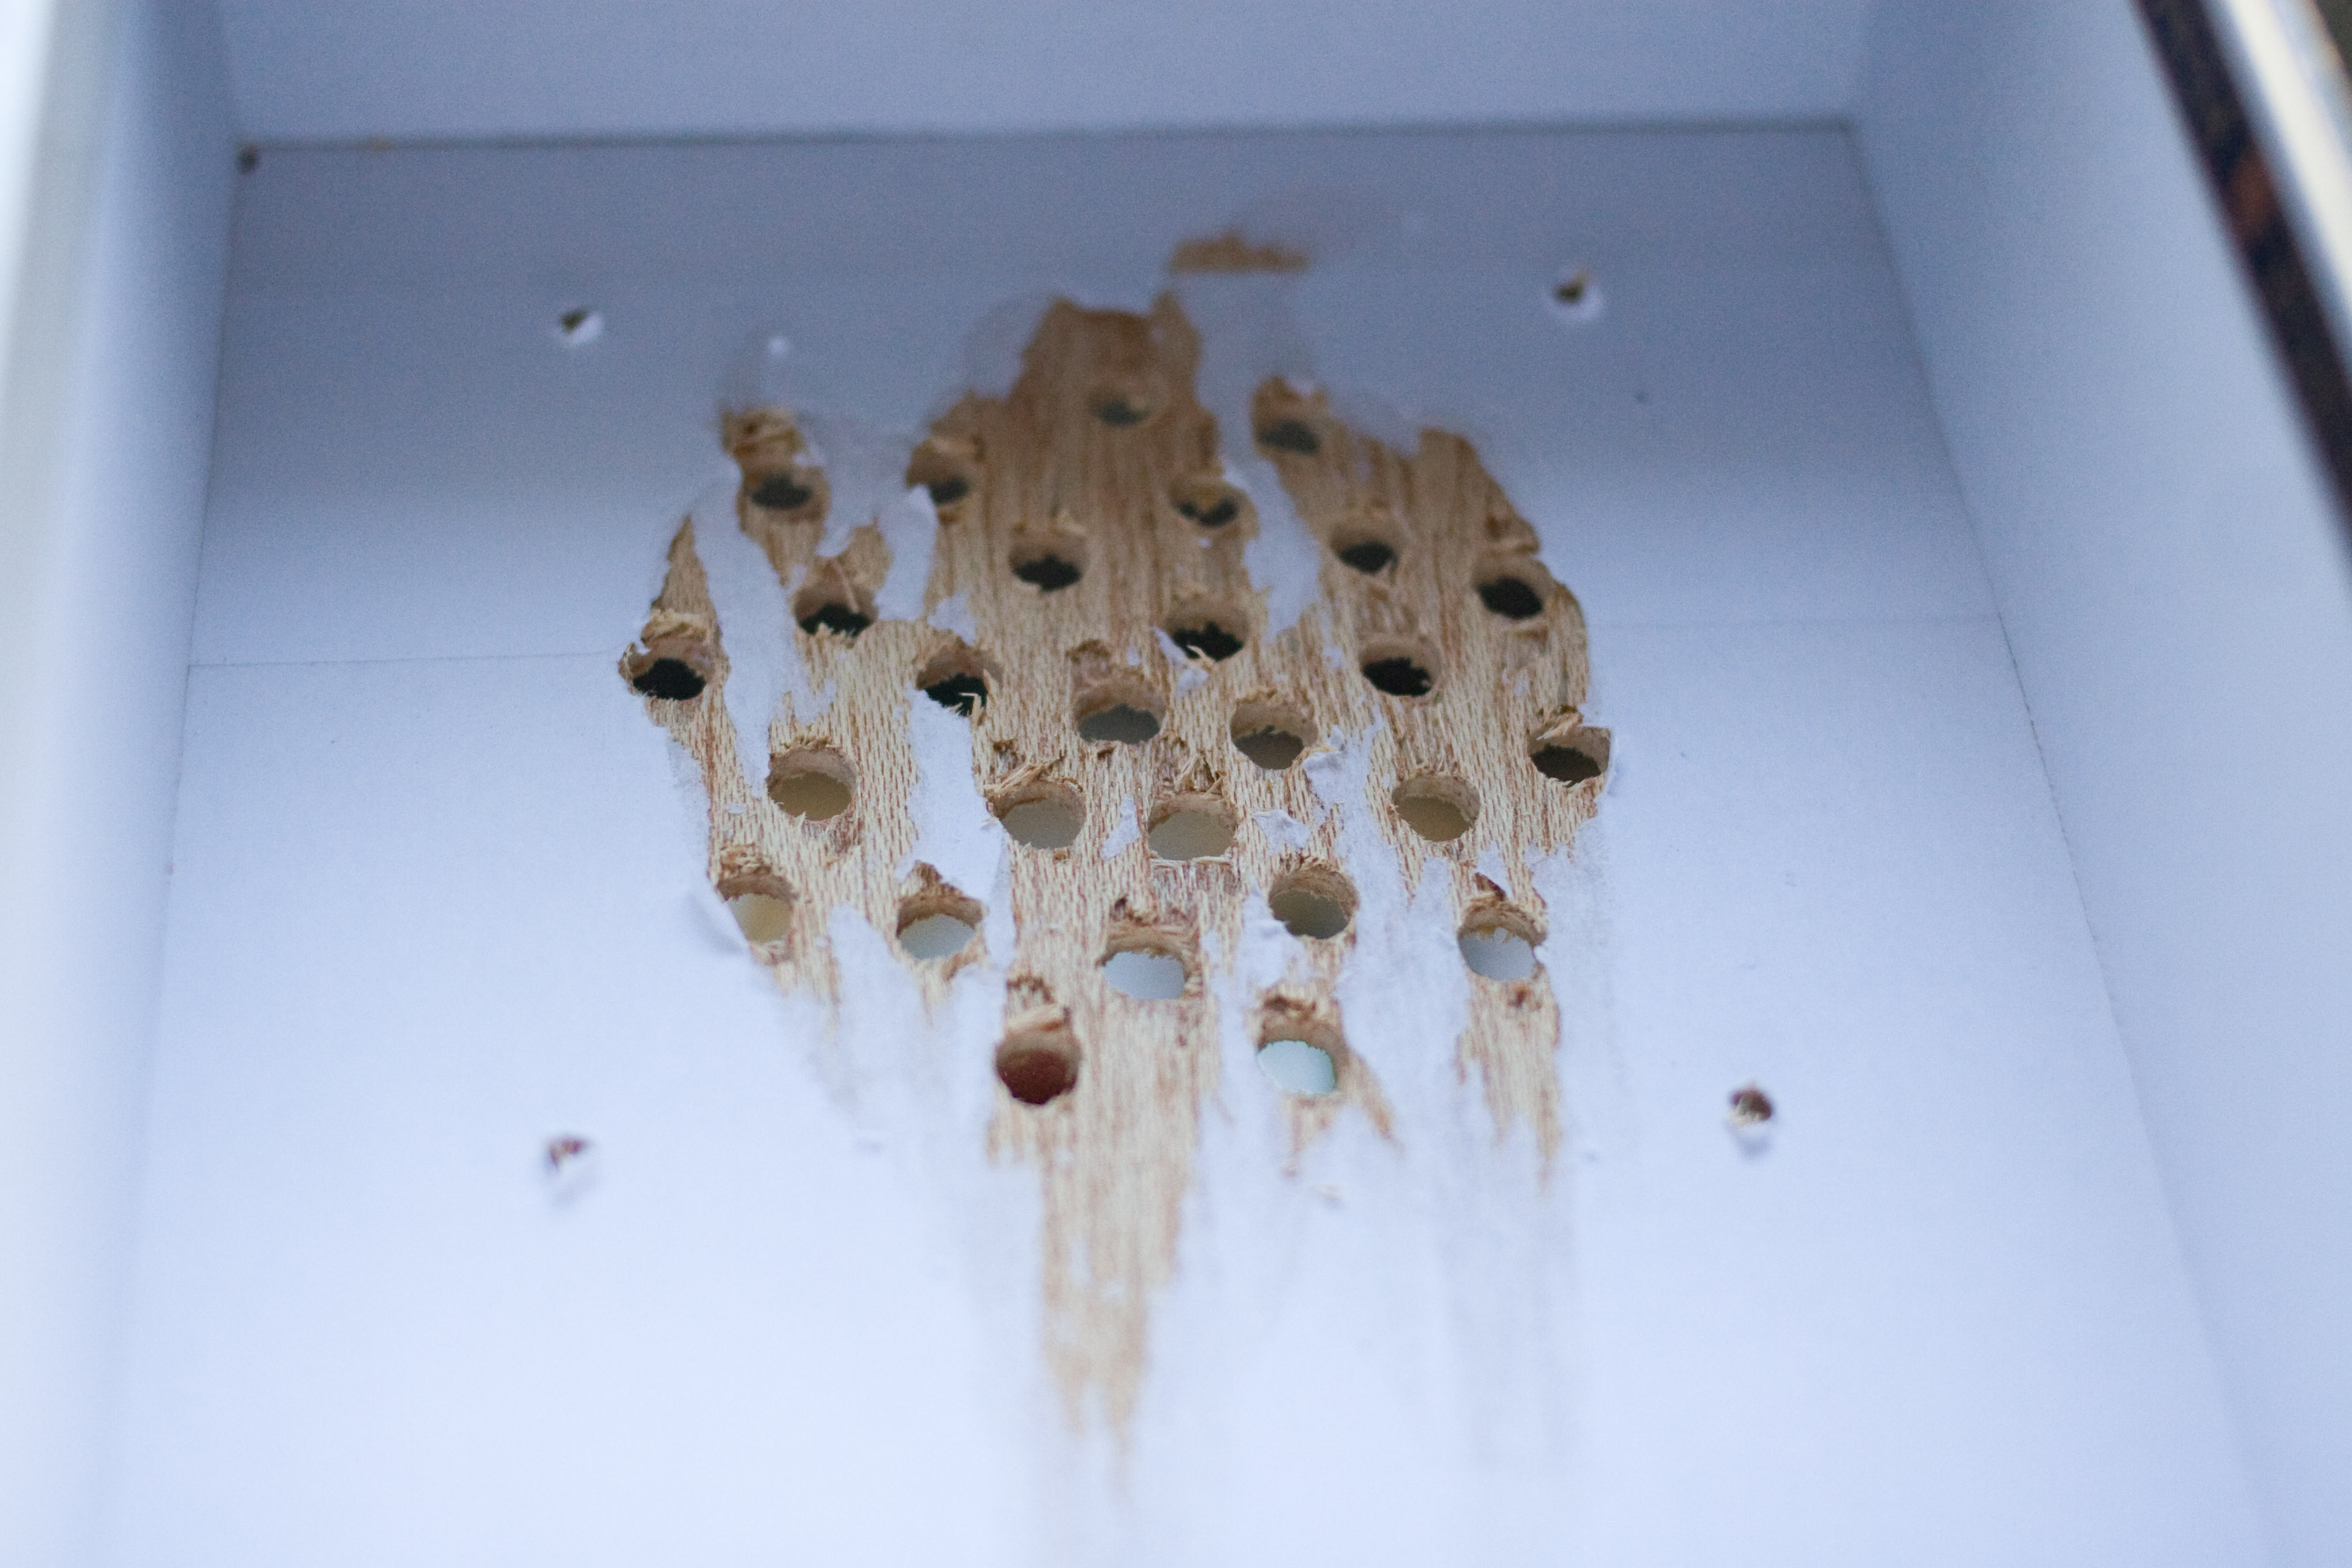
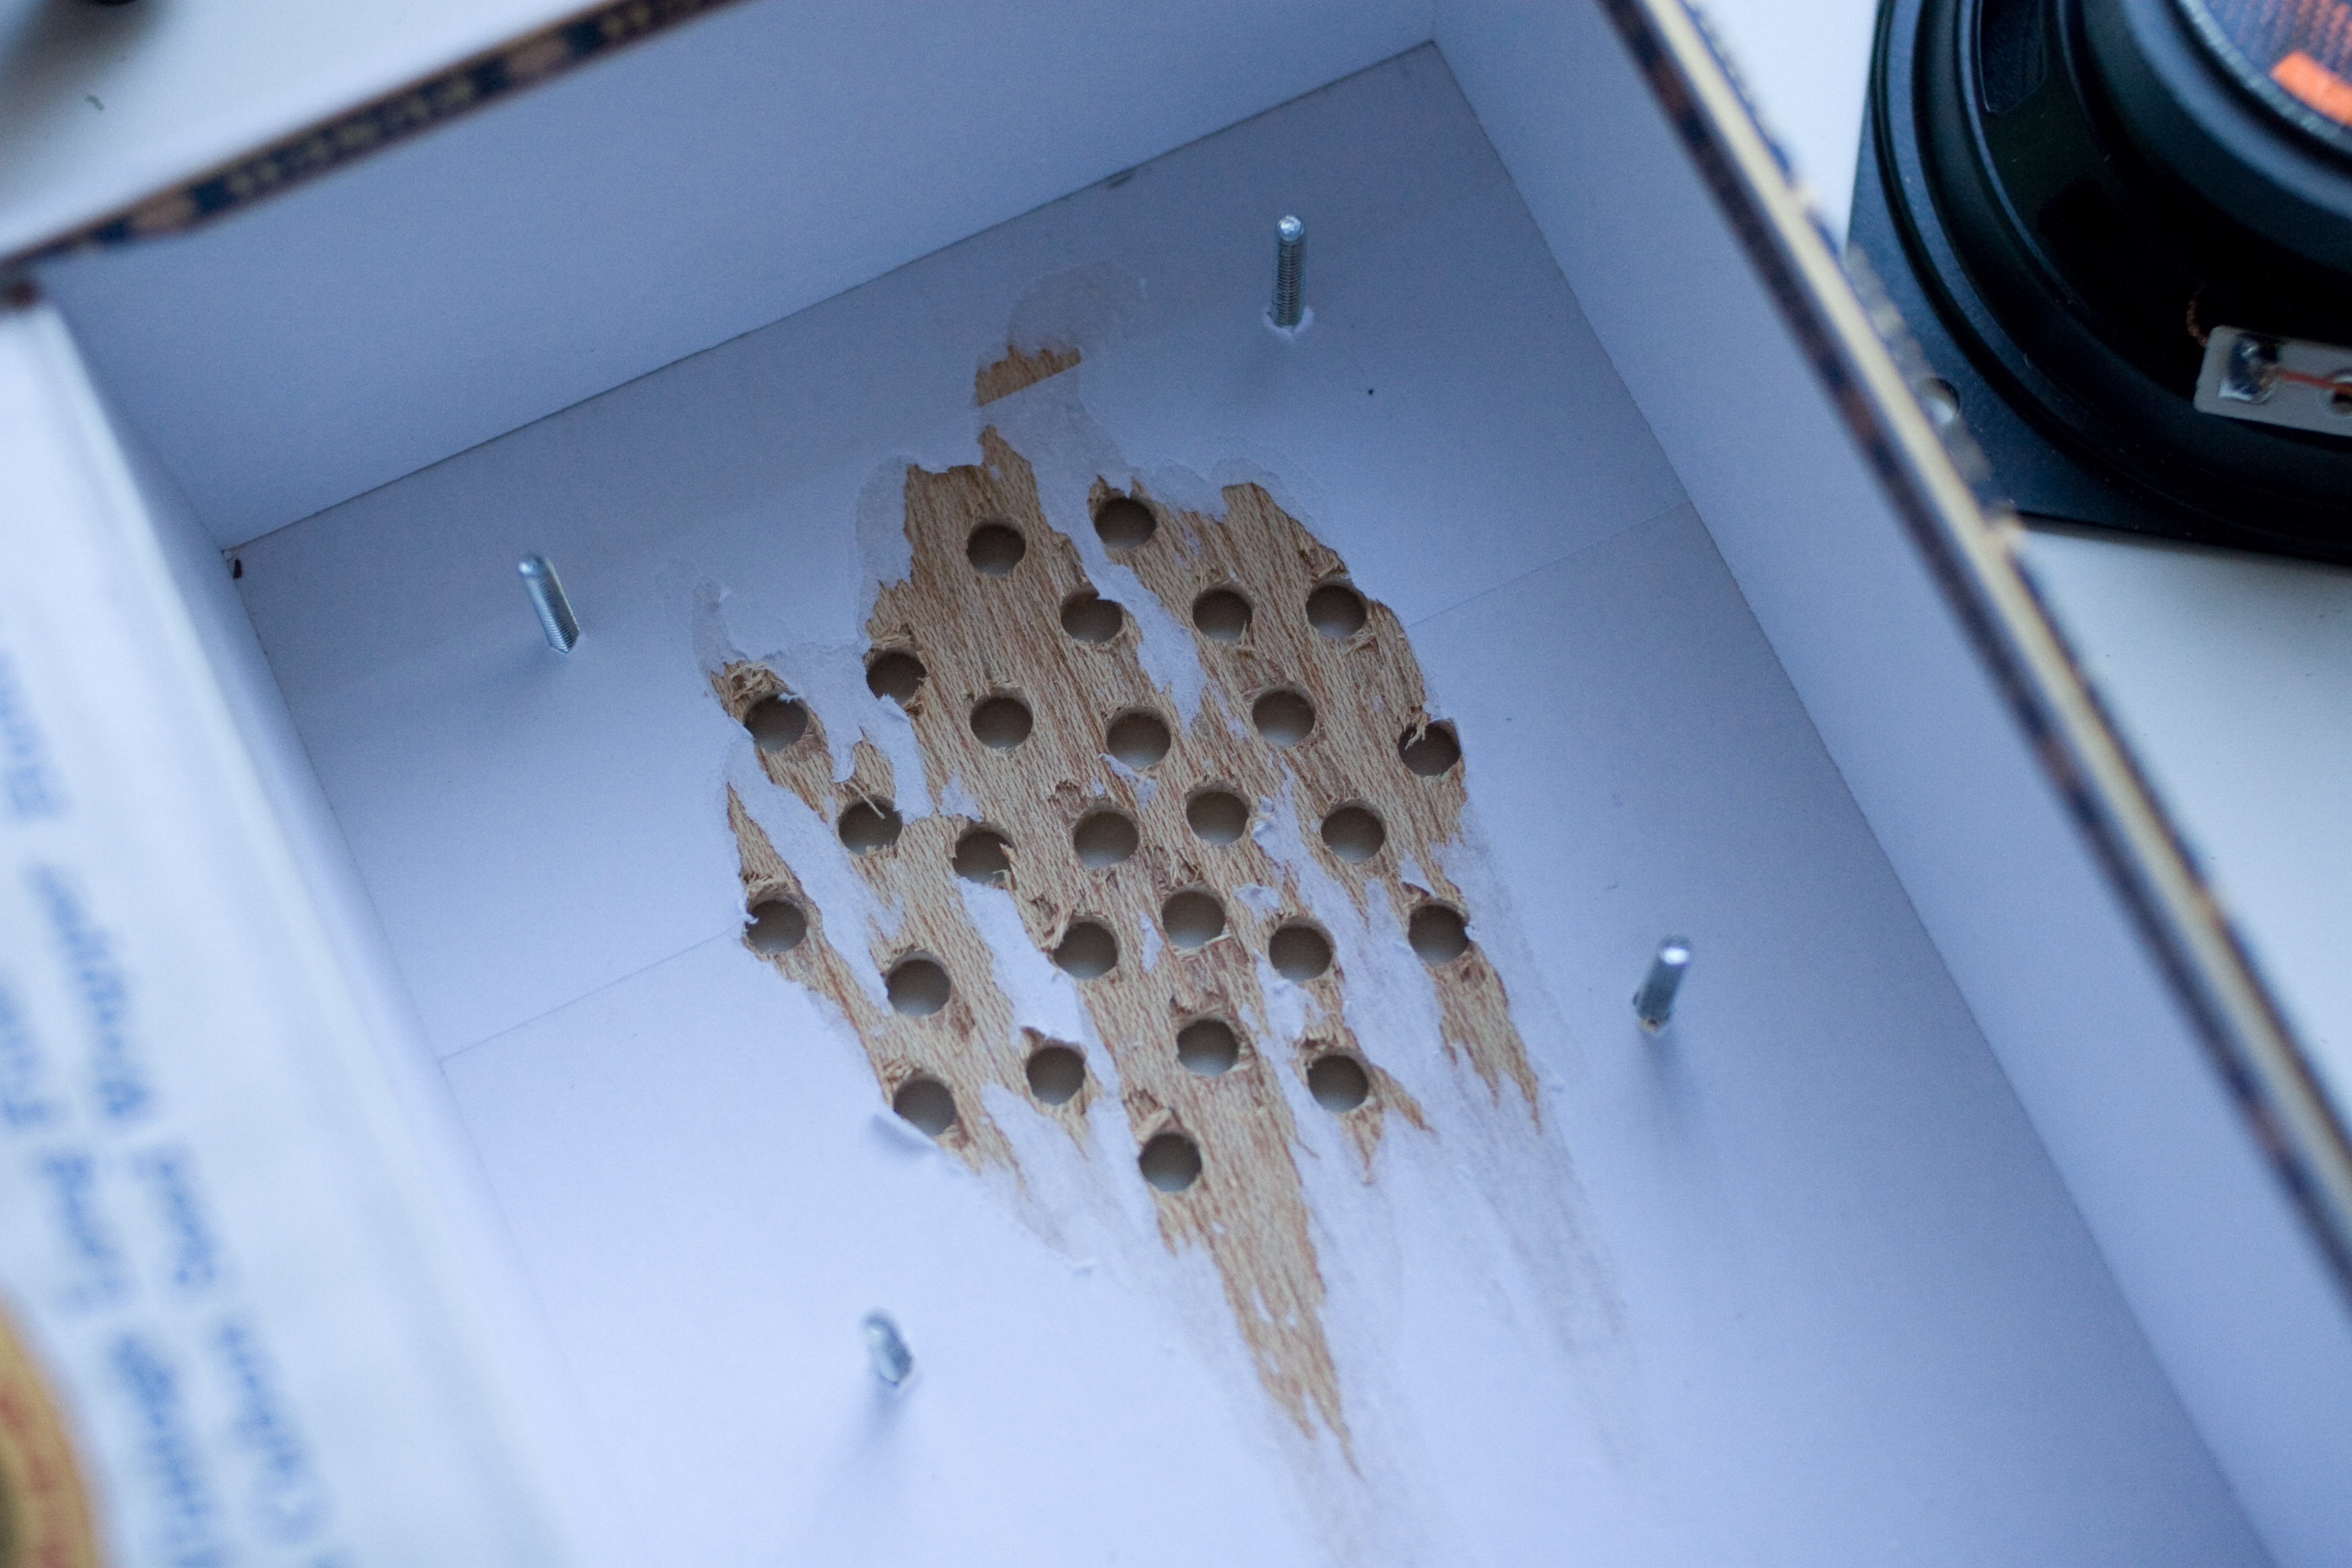
Here's what it looks like after removing all of the tearout. (I just used my fingers, carefully, although there was plenty of scope for getting a splinter here.) |
|
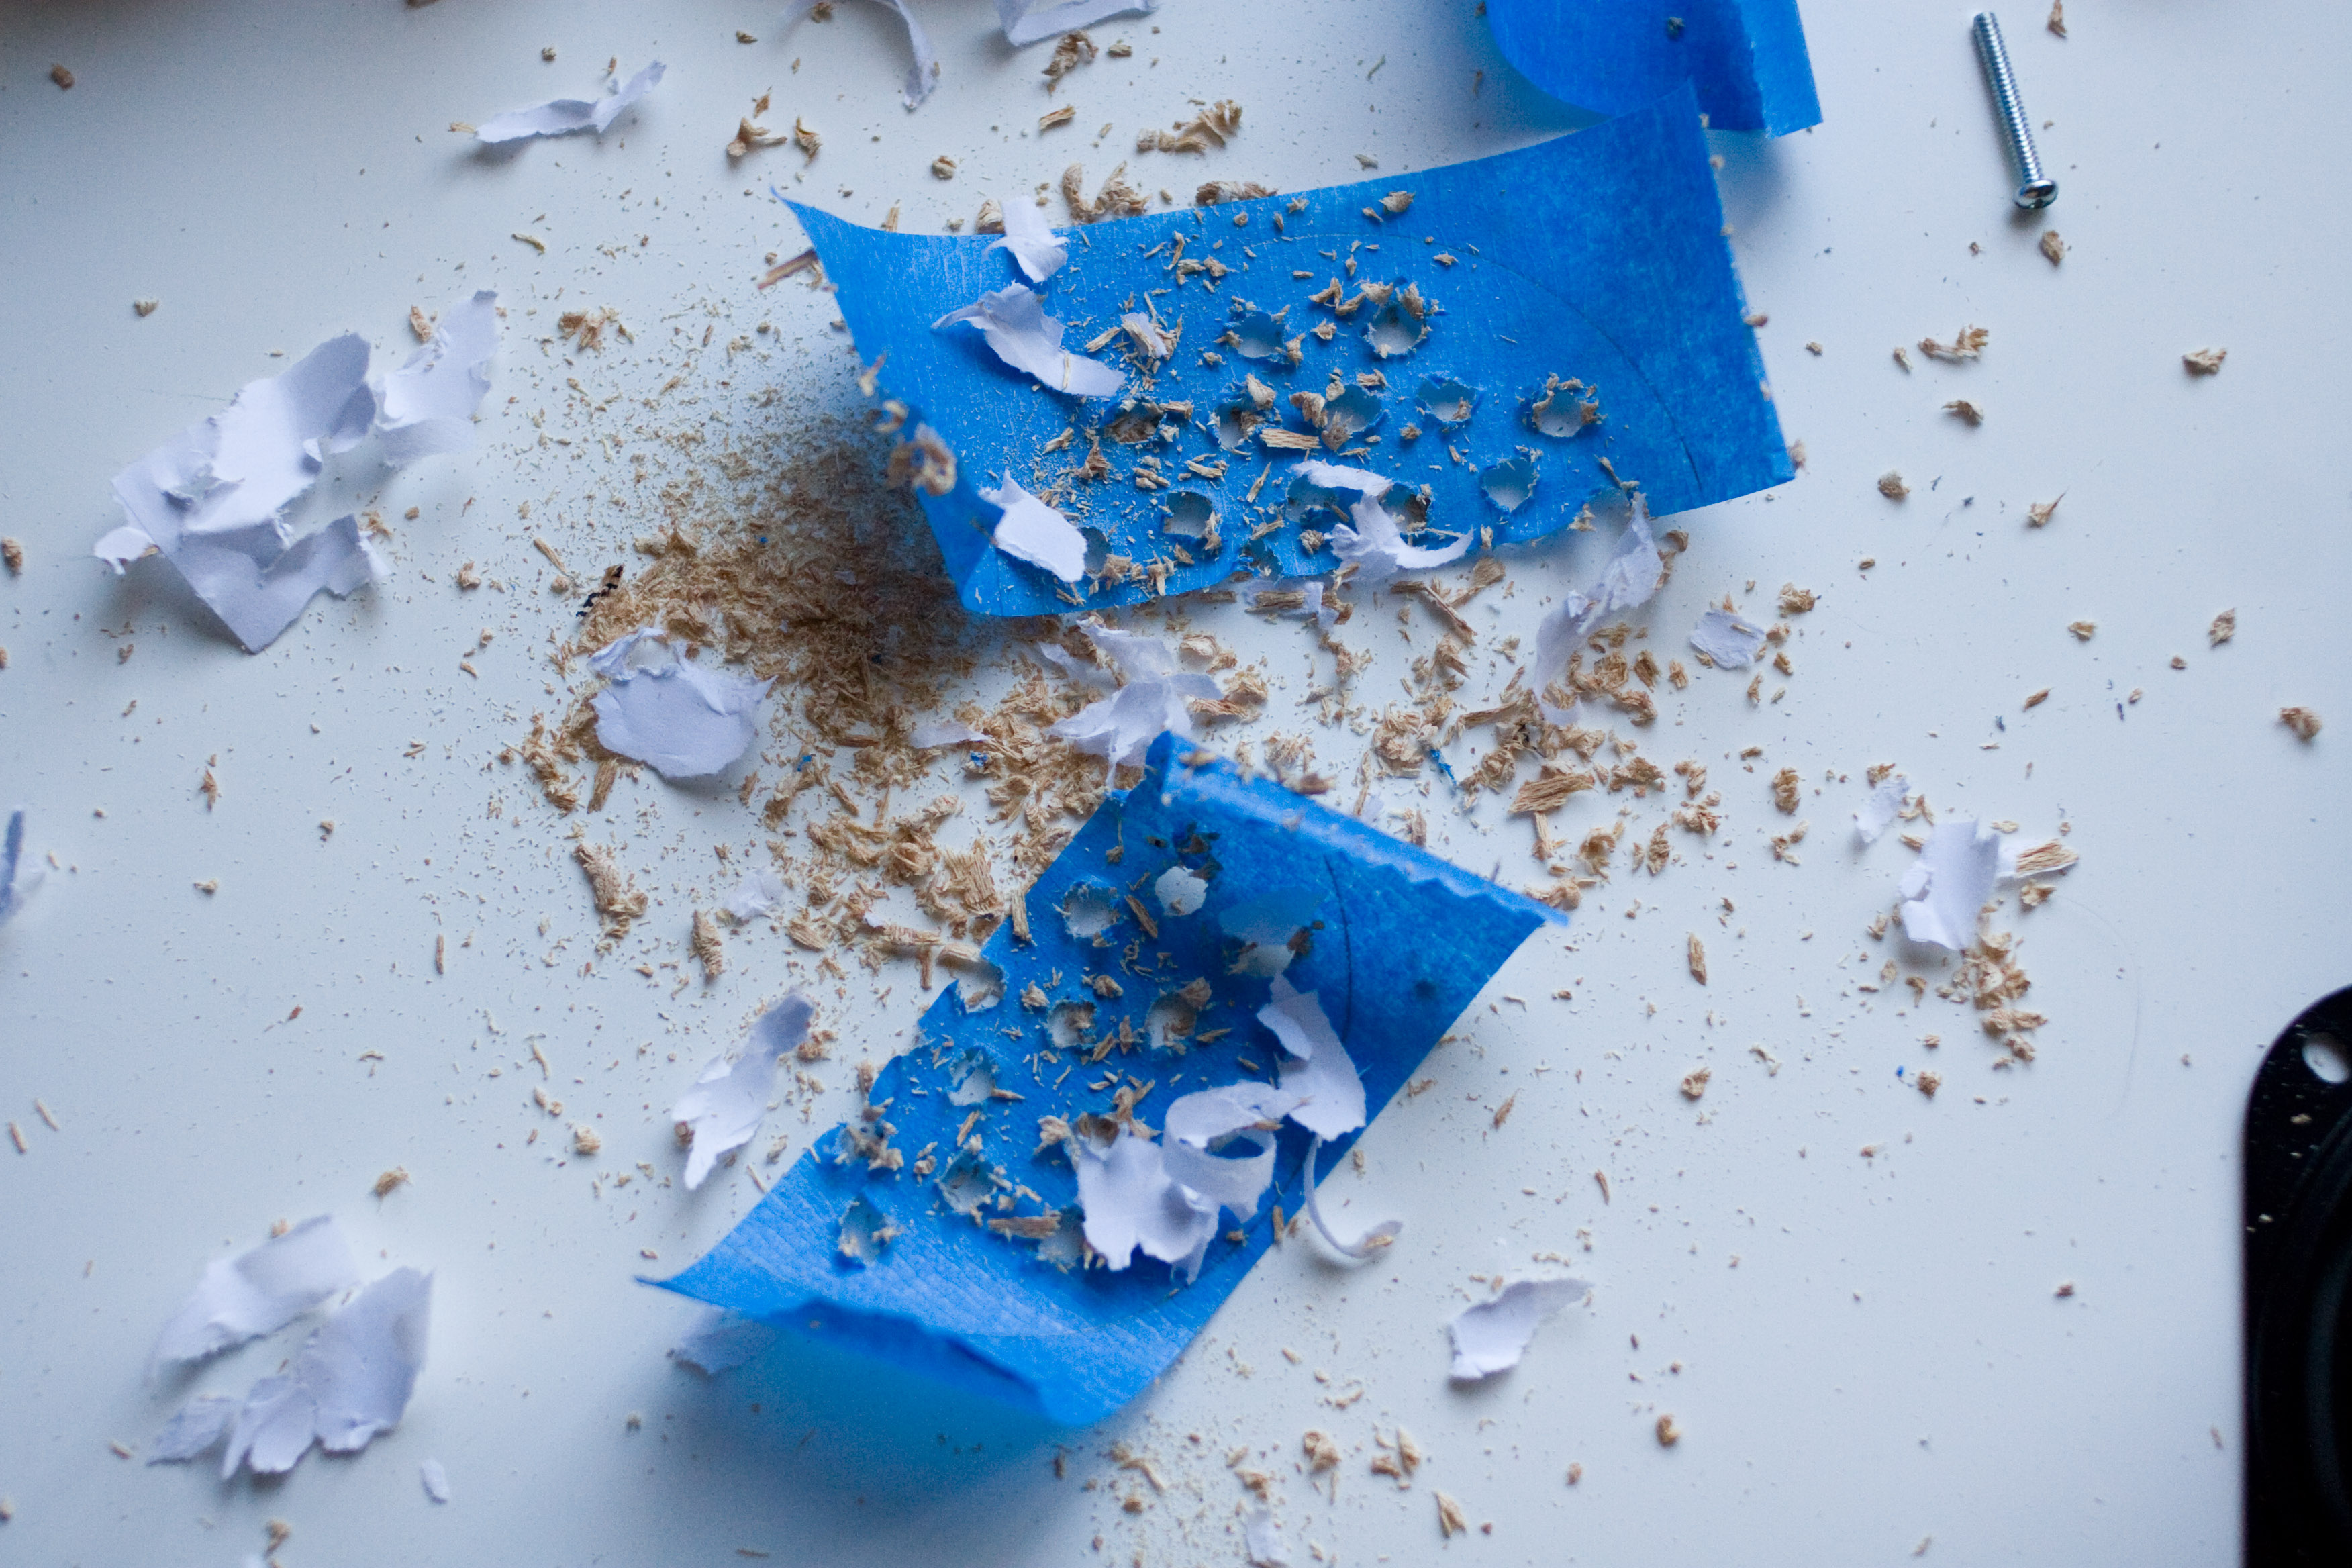
The aftermath of drilling and cleaning up the tearout. Lots of ruined paper products! |
|
Everything looks good! I don't need to add any holes here so I'll erase my guide line. |
|
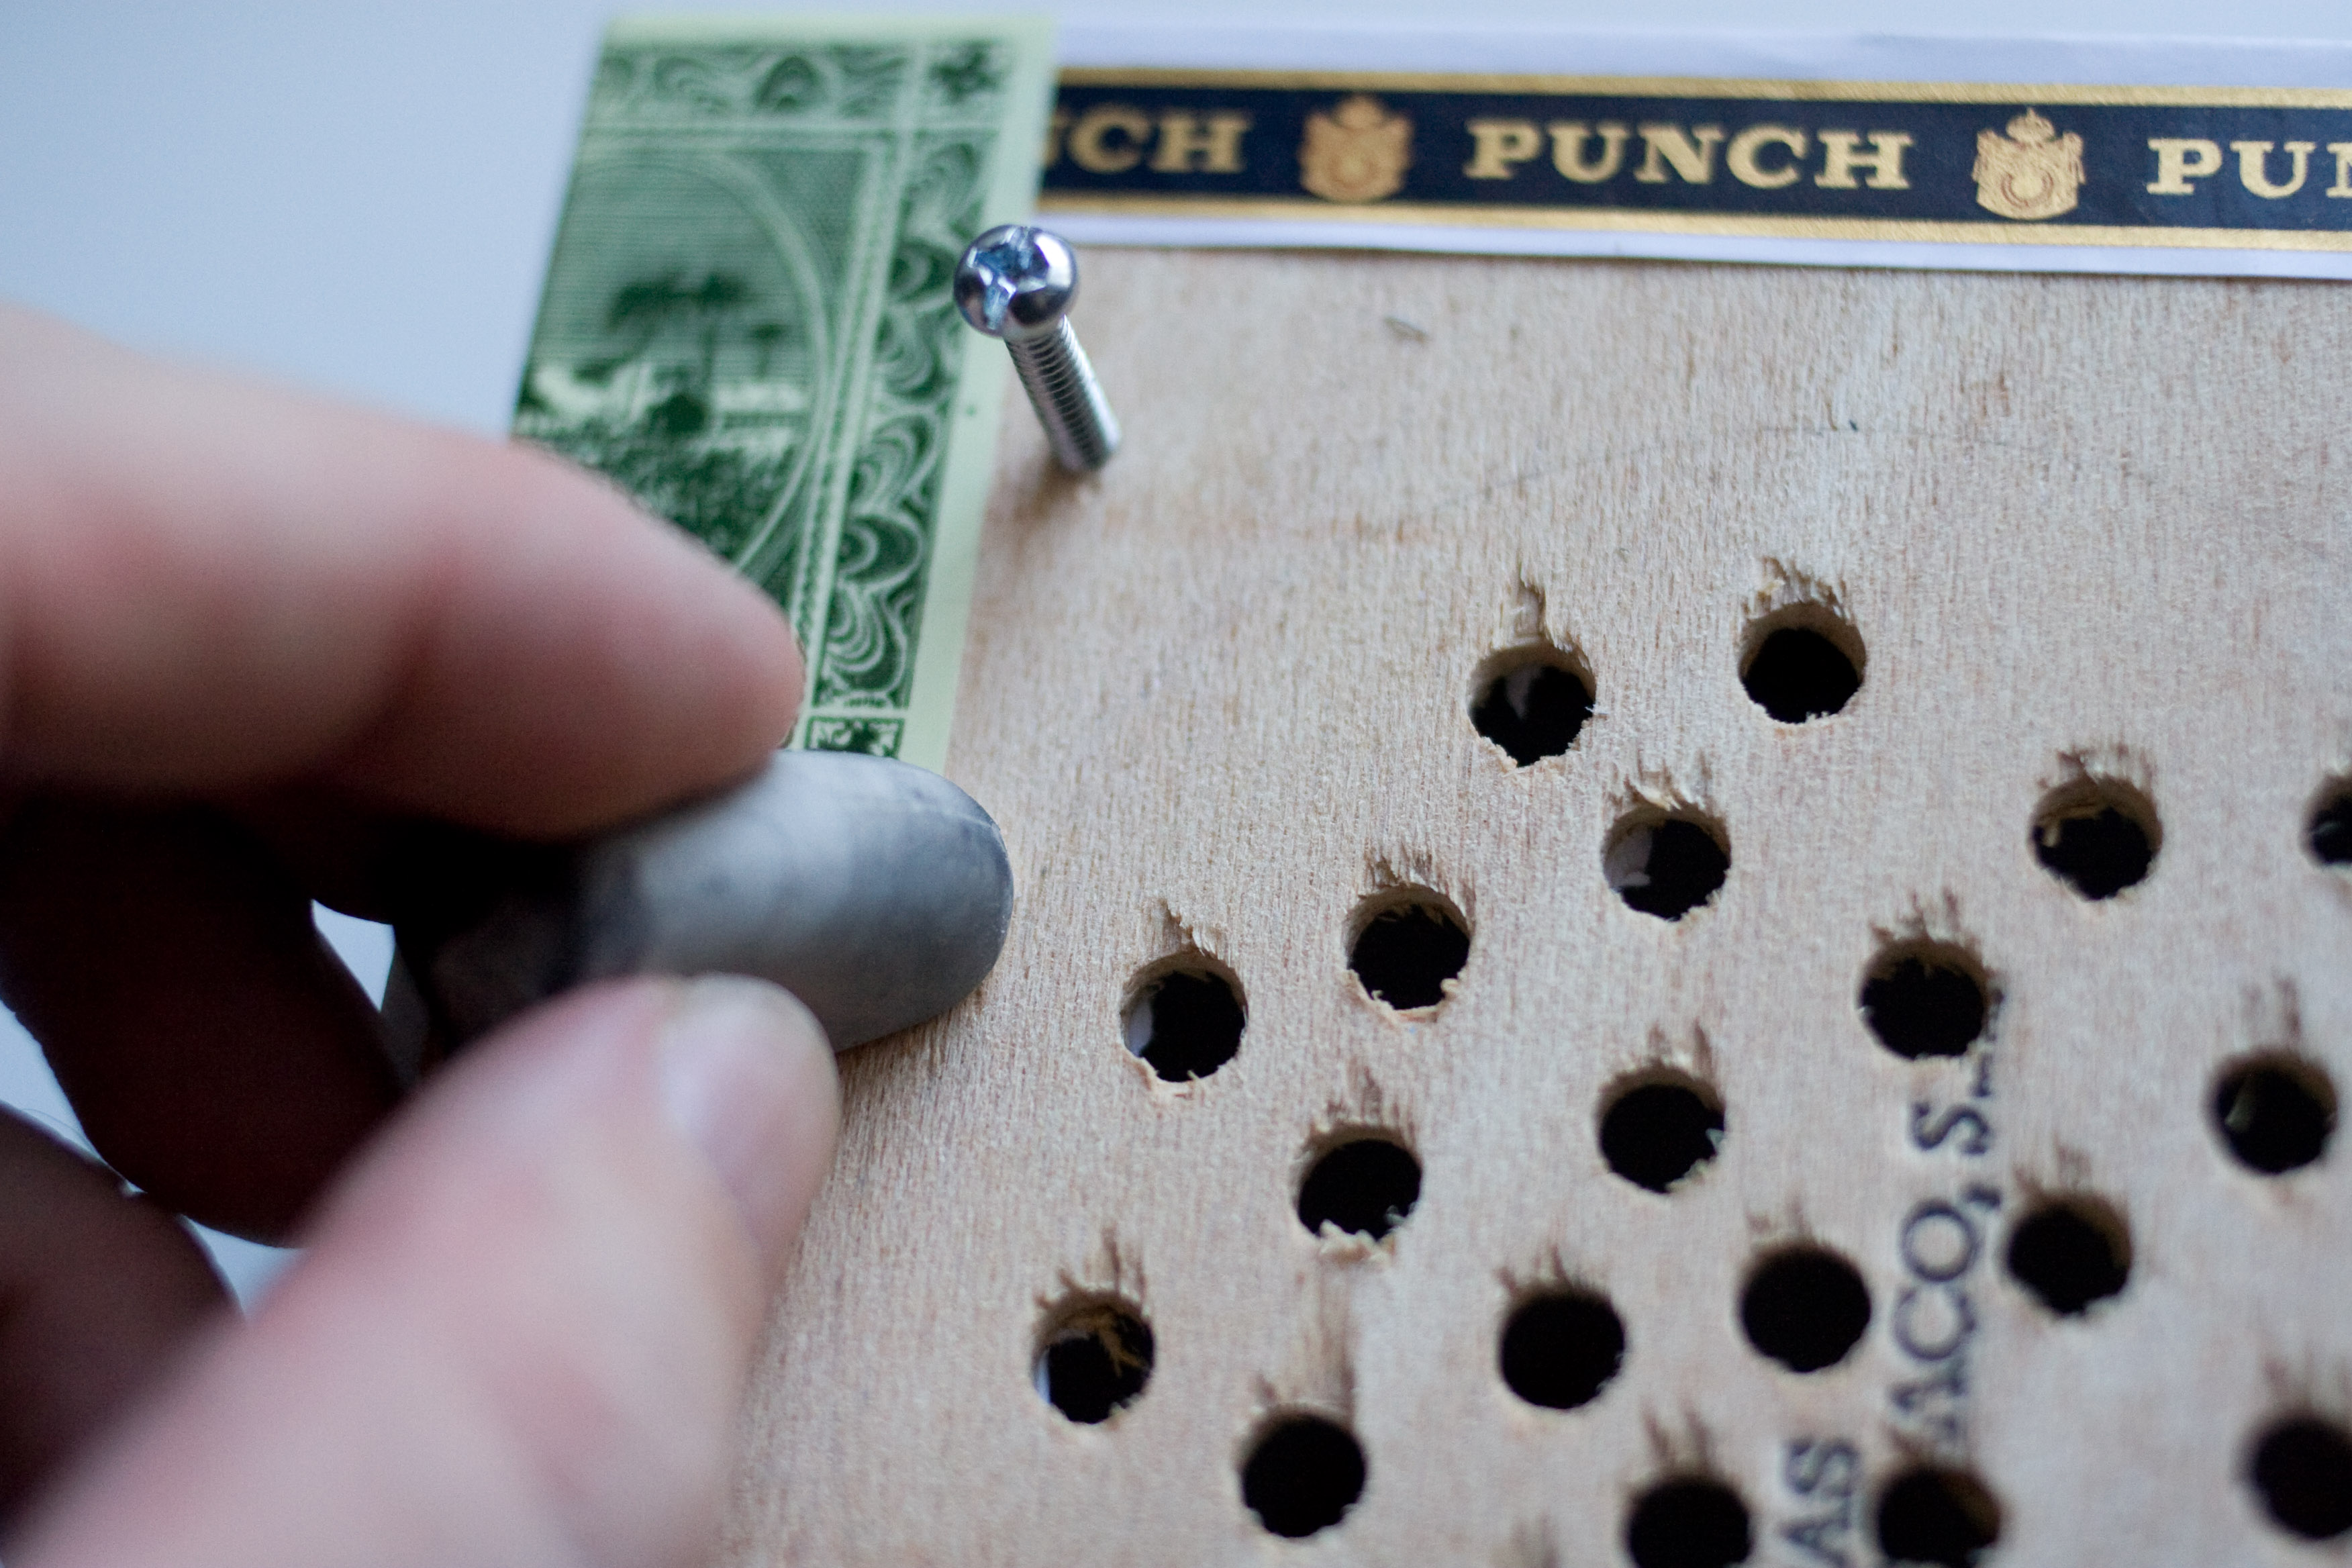
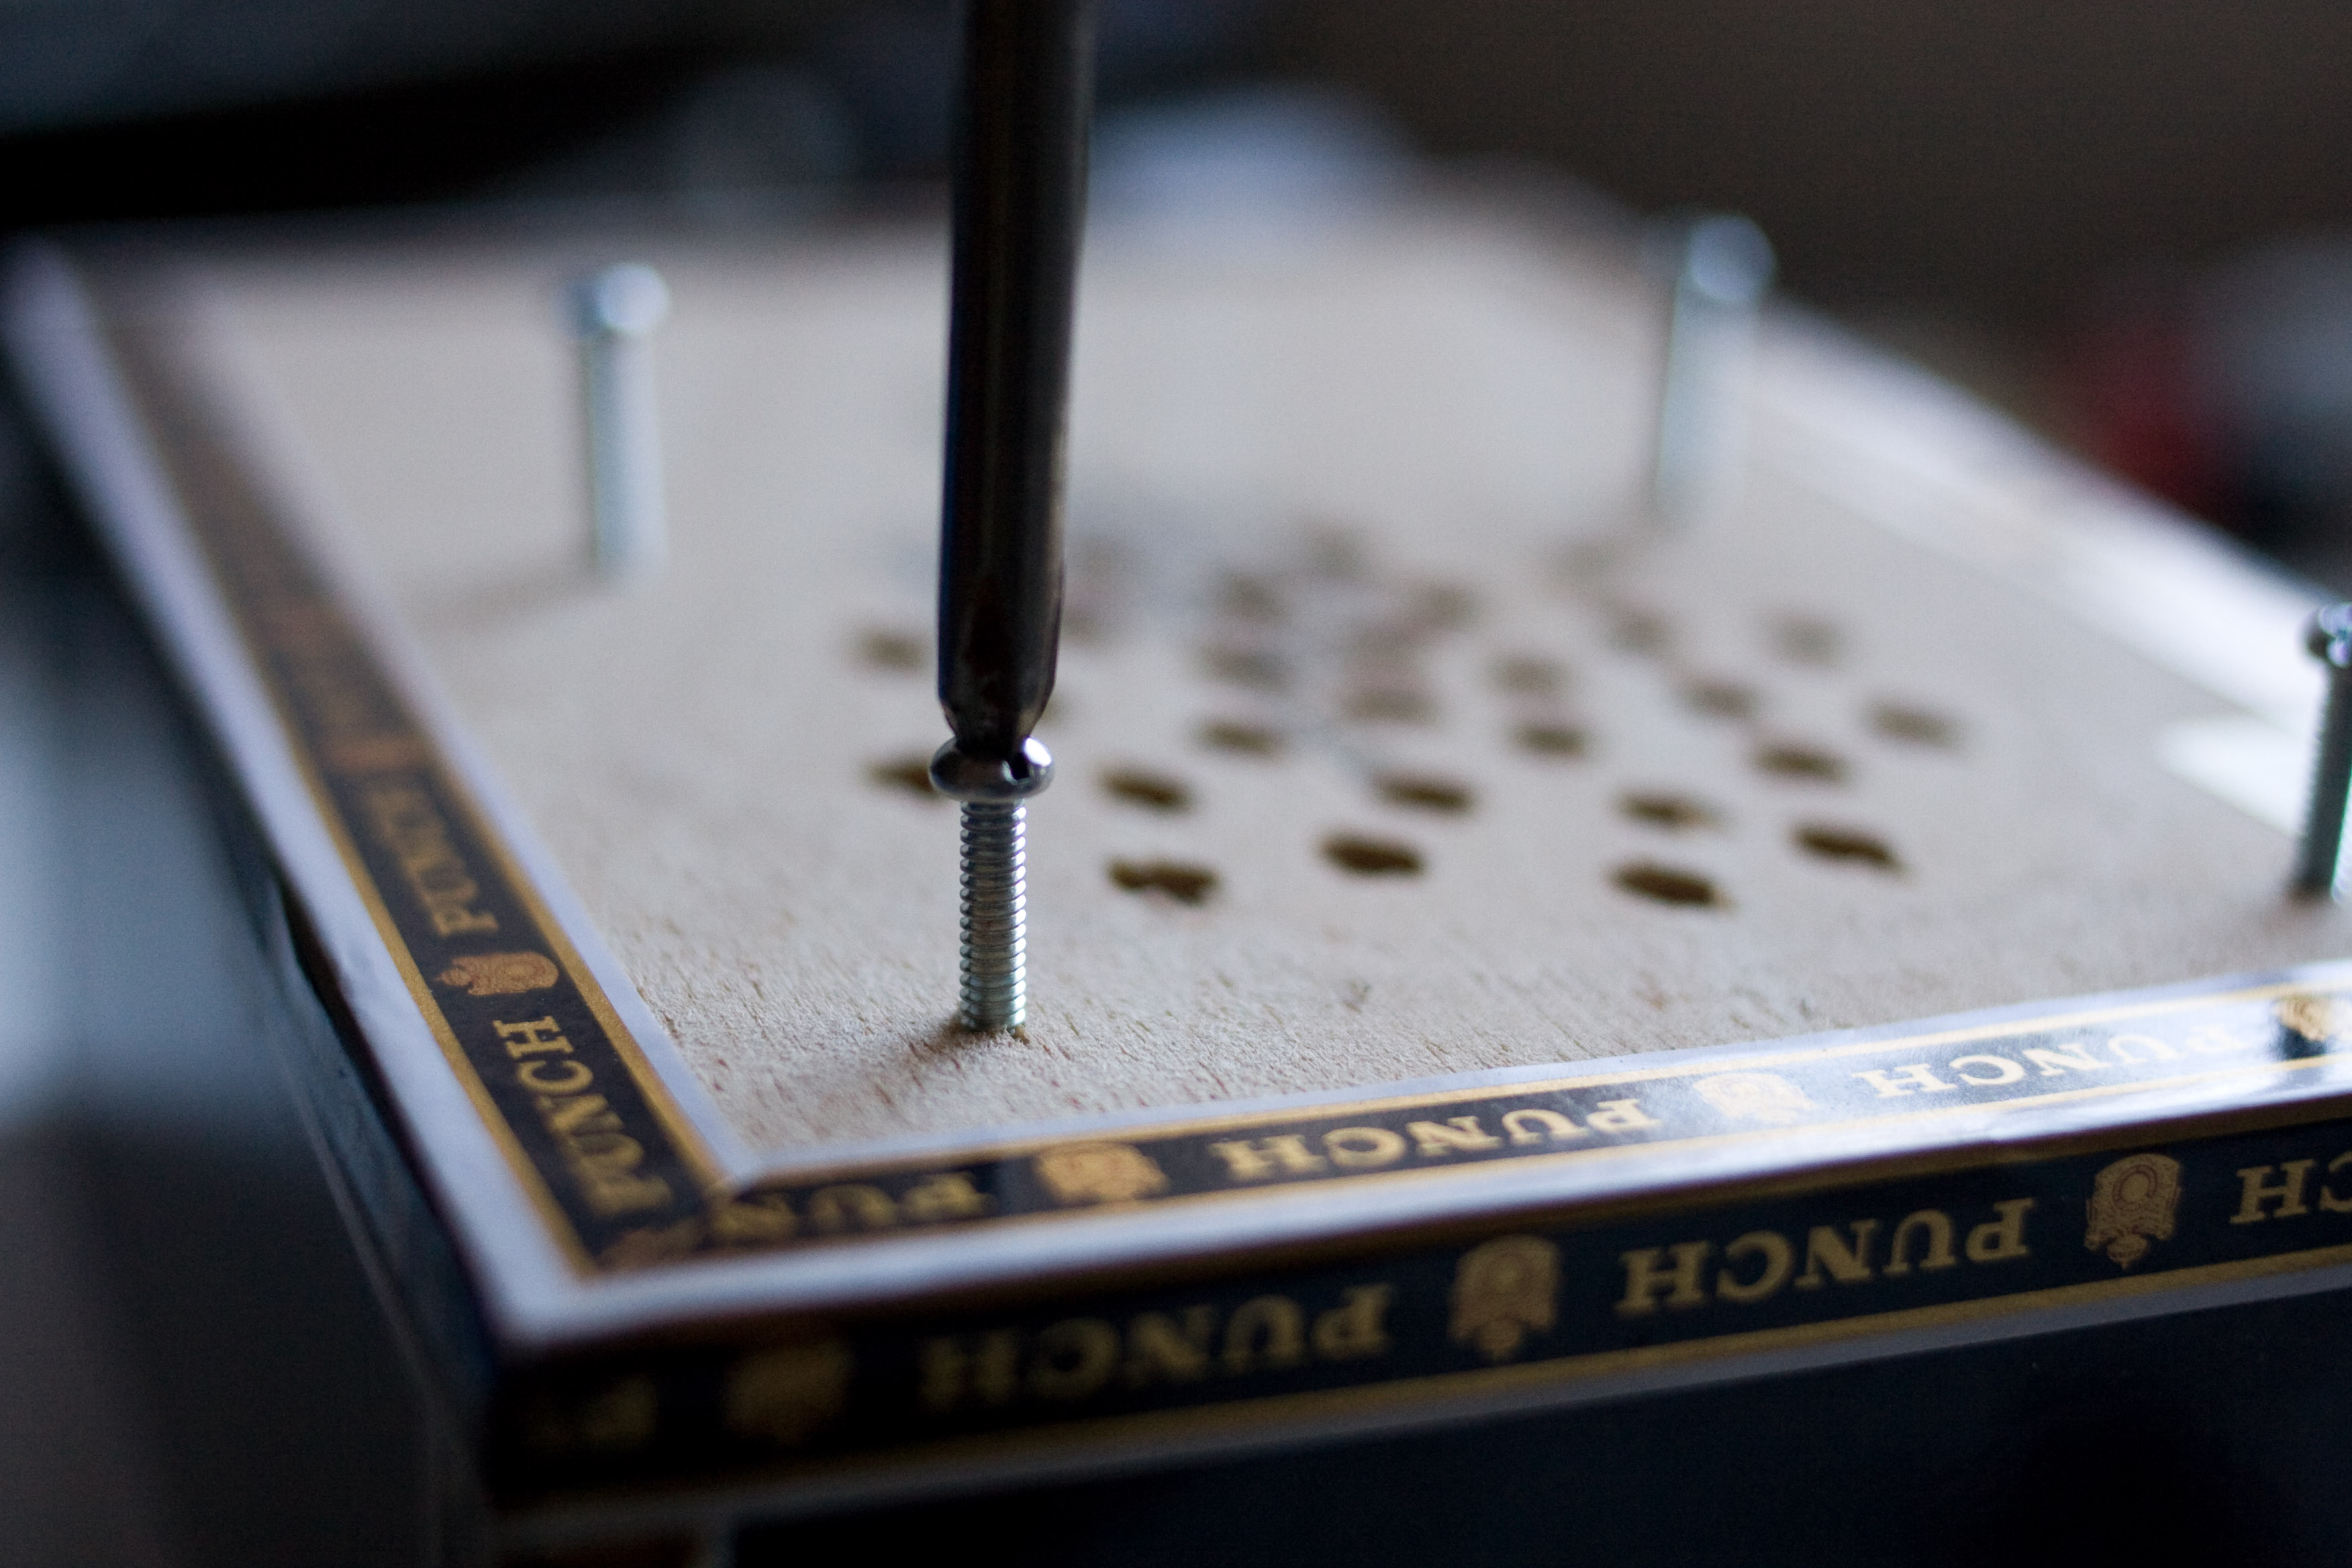
The 1/8th inch bit I used for the screw holes is just barely big enough. In fact, I have to screw in the screws, they don't just drop in (I guess I could have pounded them in with a hammer.) Despite the tedium of screwing the screws into the wood, it actually makes assembly easier because the screws don't fall out the moment I flip the whole thing over. |
|
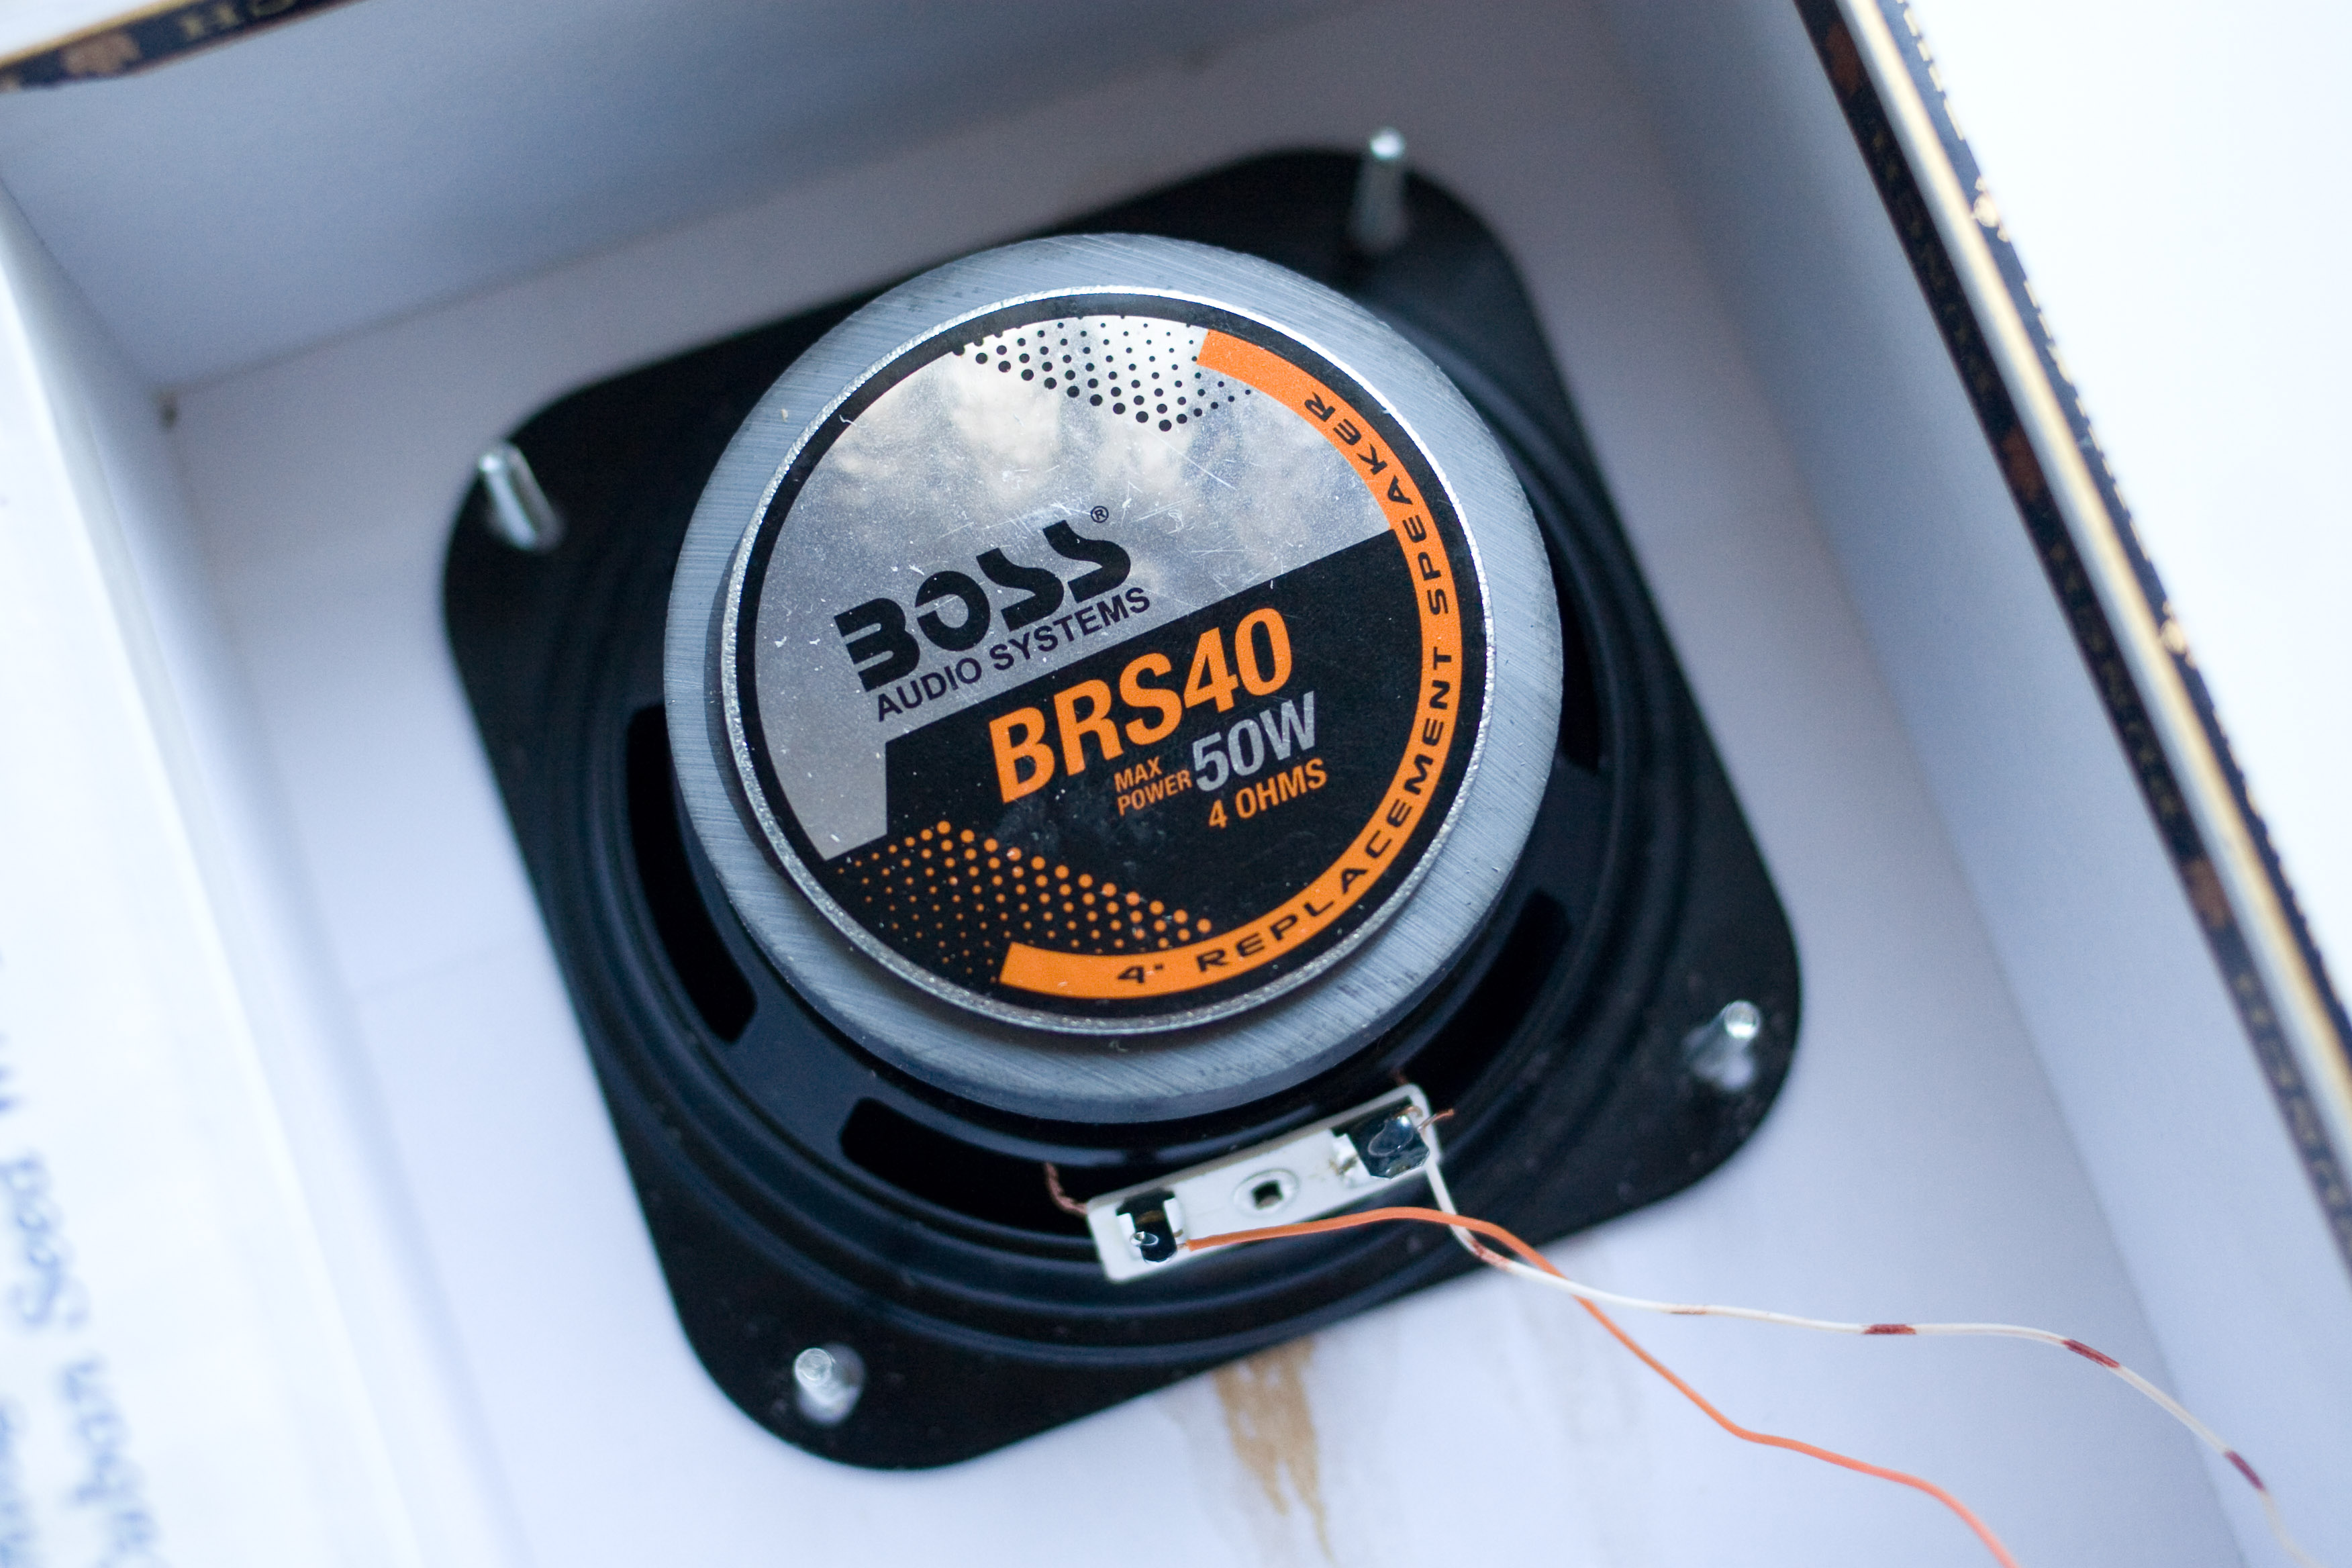
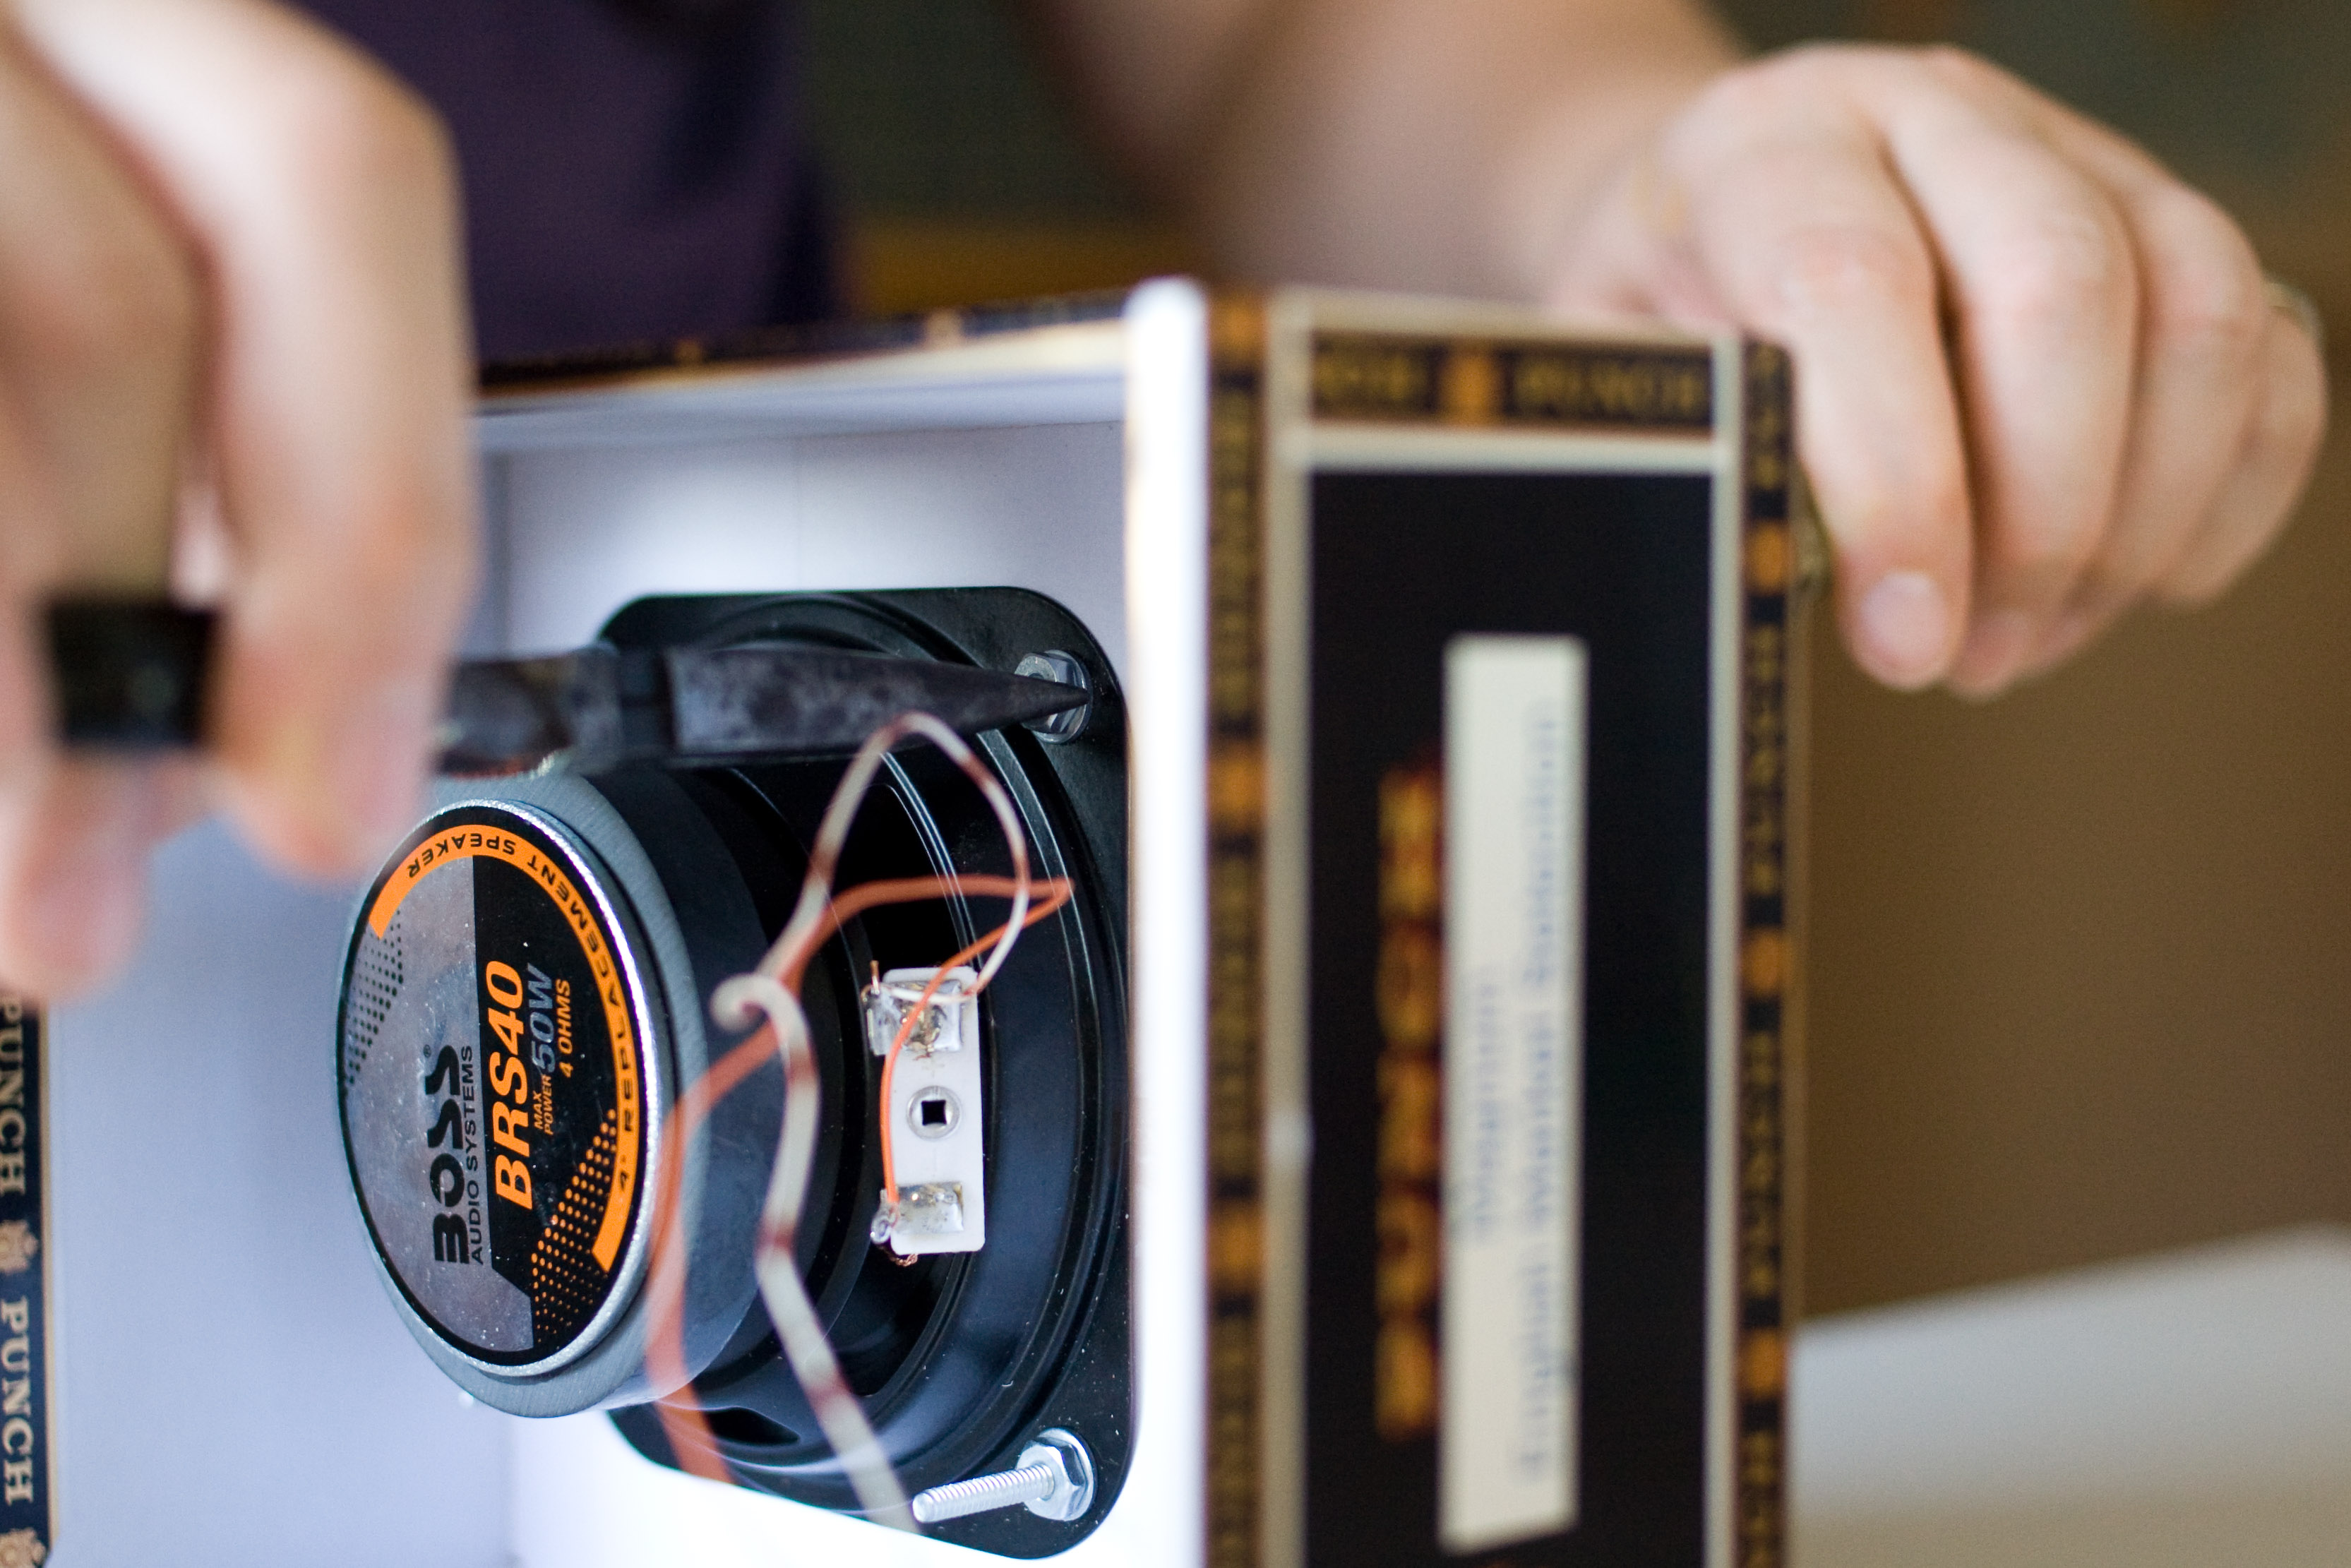
Ready for the speaker. |
|
And of course it fits perfectly. |
|
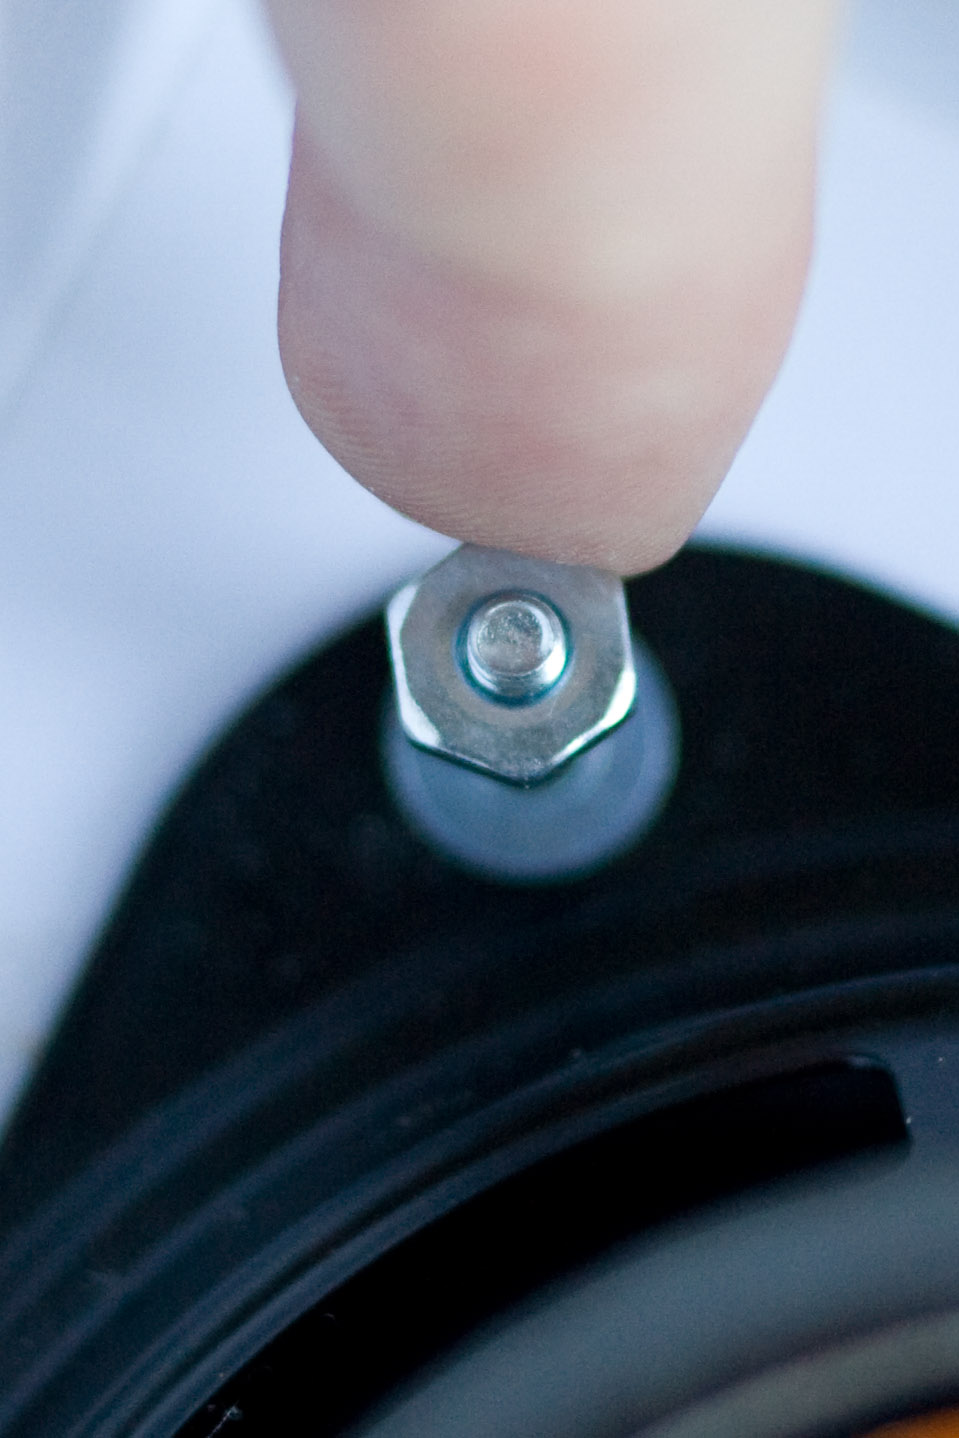
The next step is putting in washers, screws, and finally finger tightening the nuts on the machine screws. The magnet on this speaker is something fierce and it kept trying to steal the washers and nuts. |
|
Finally, I used a needle nose pliers to hold the nut in place, and I screwed the machine screws tight. |
|
And here is the final result! For this amp, I'm going to put the pots on the front, right next to the speaker. |