(I made this handout for a conference session I taught a few years ago about LEDs. The course was made for artists who probably don't have an electronics background. If you are interested in LEDs but you aren't sure where to start, or even what an LED is, then keep on reading!)
What is an LED?
It’s a little blinky light! You probably see dozens, if not hundreds of LEDs every day. They are on phones, dishwashers, microwaves, and computers.
Why do we use LEDs?
Efficiency! In low power applications (such as battery powered gadgets, and most consumer electronics) LEDs provide more light and less heat compared to little tiny incandescent bulbs.
How can we work with LEDs?
Remember the two main rules of LEDs:
LEDs are directional. This means that you can only hook them up one way and have them light up. If you hook them up backwards, they won’t work. If you hook them up backwards they probably won’t be damaged if you are working with low voltages.
LEDs are electrically fragile. This means you can’t just buy an LED and hook it up directly to a battery. You need something to limit the amount of electricity that will flow through your LED.
Think of an LED as a weak rope bridge, and your power source is a few million people trying to get from one side of the bridge to the other. If you put too many people on your rope bridge at once, it will break. You need a gatekeeper to limit how many people can be on the bridge at a time so it won’t break.
In our circuit, the gatekeeper is a resistor. A resistor is an electrical component that limits the amount of electricity that flows through it. Once you limit the flow of electricity with a resistor, you can safely connect your LED.
Why don’t they just put resistors in LEDs before you buy them then?
Because the value of the resistor depends on what voltage you are going to use the LED at. You would use a different resistor for 5 volts than you would for 12 volts. Also you may not want to run the LED at full brightness. In that case you would use a larger resistor to limit how bright it would be.
Wait. Why doesn't an LED burn out when I connect it to a 3.0 volt coin battery then?
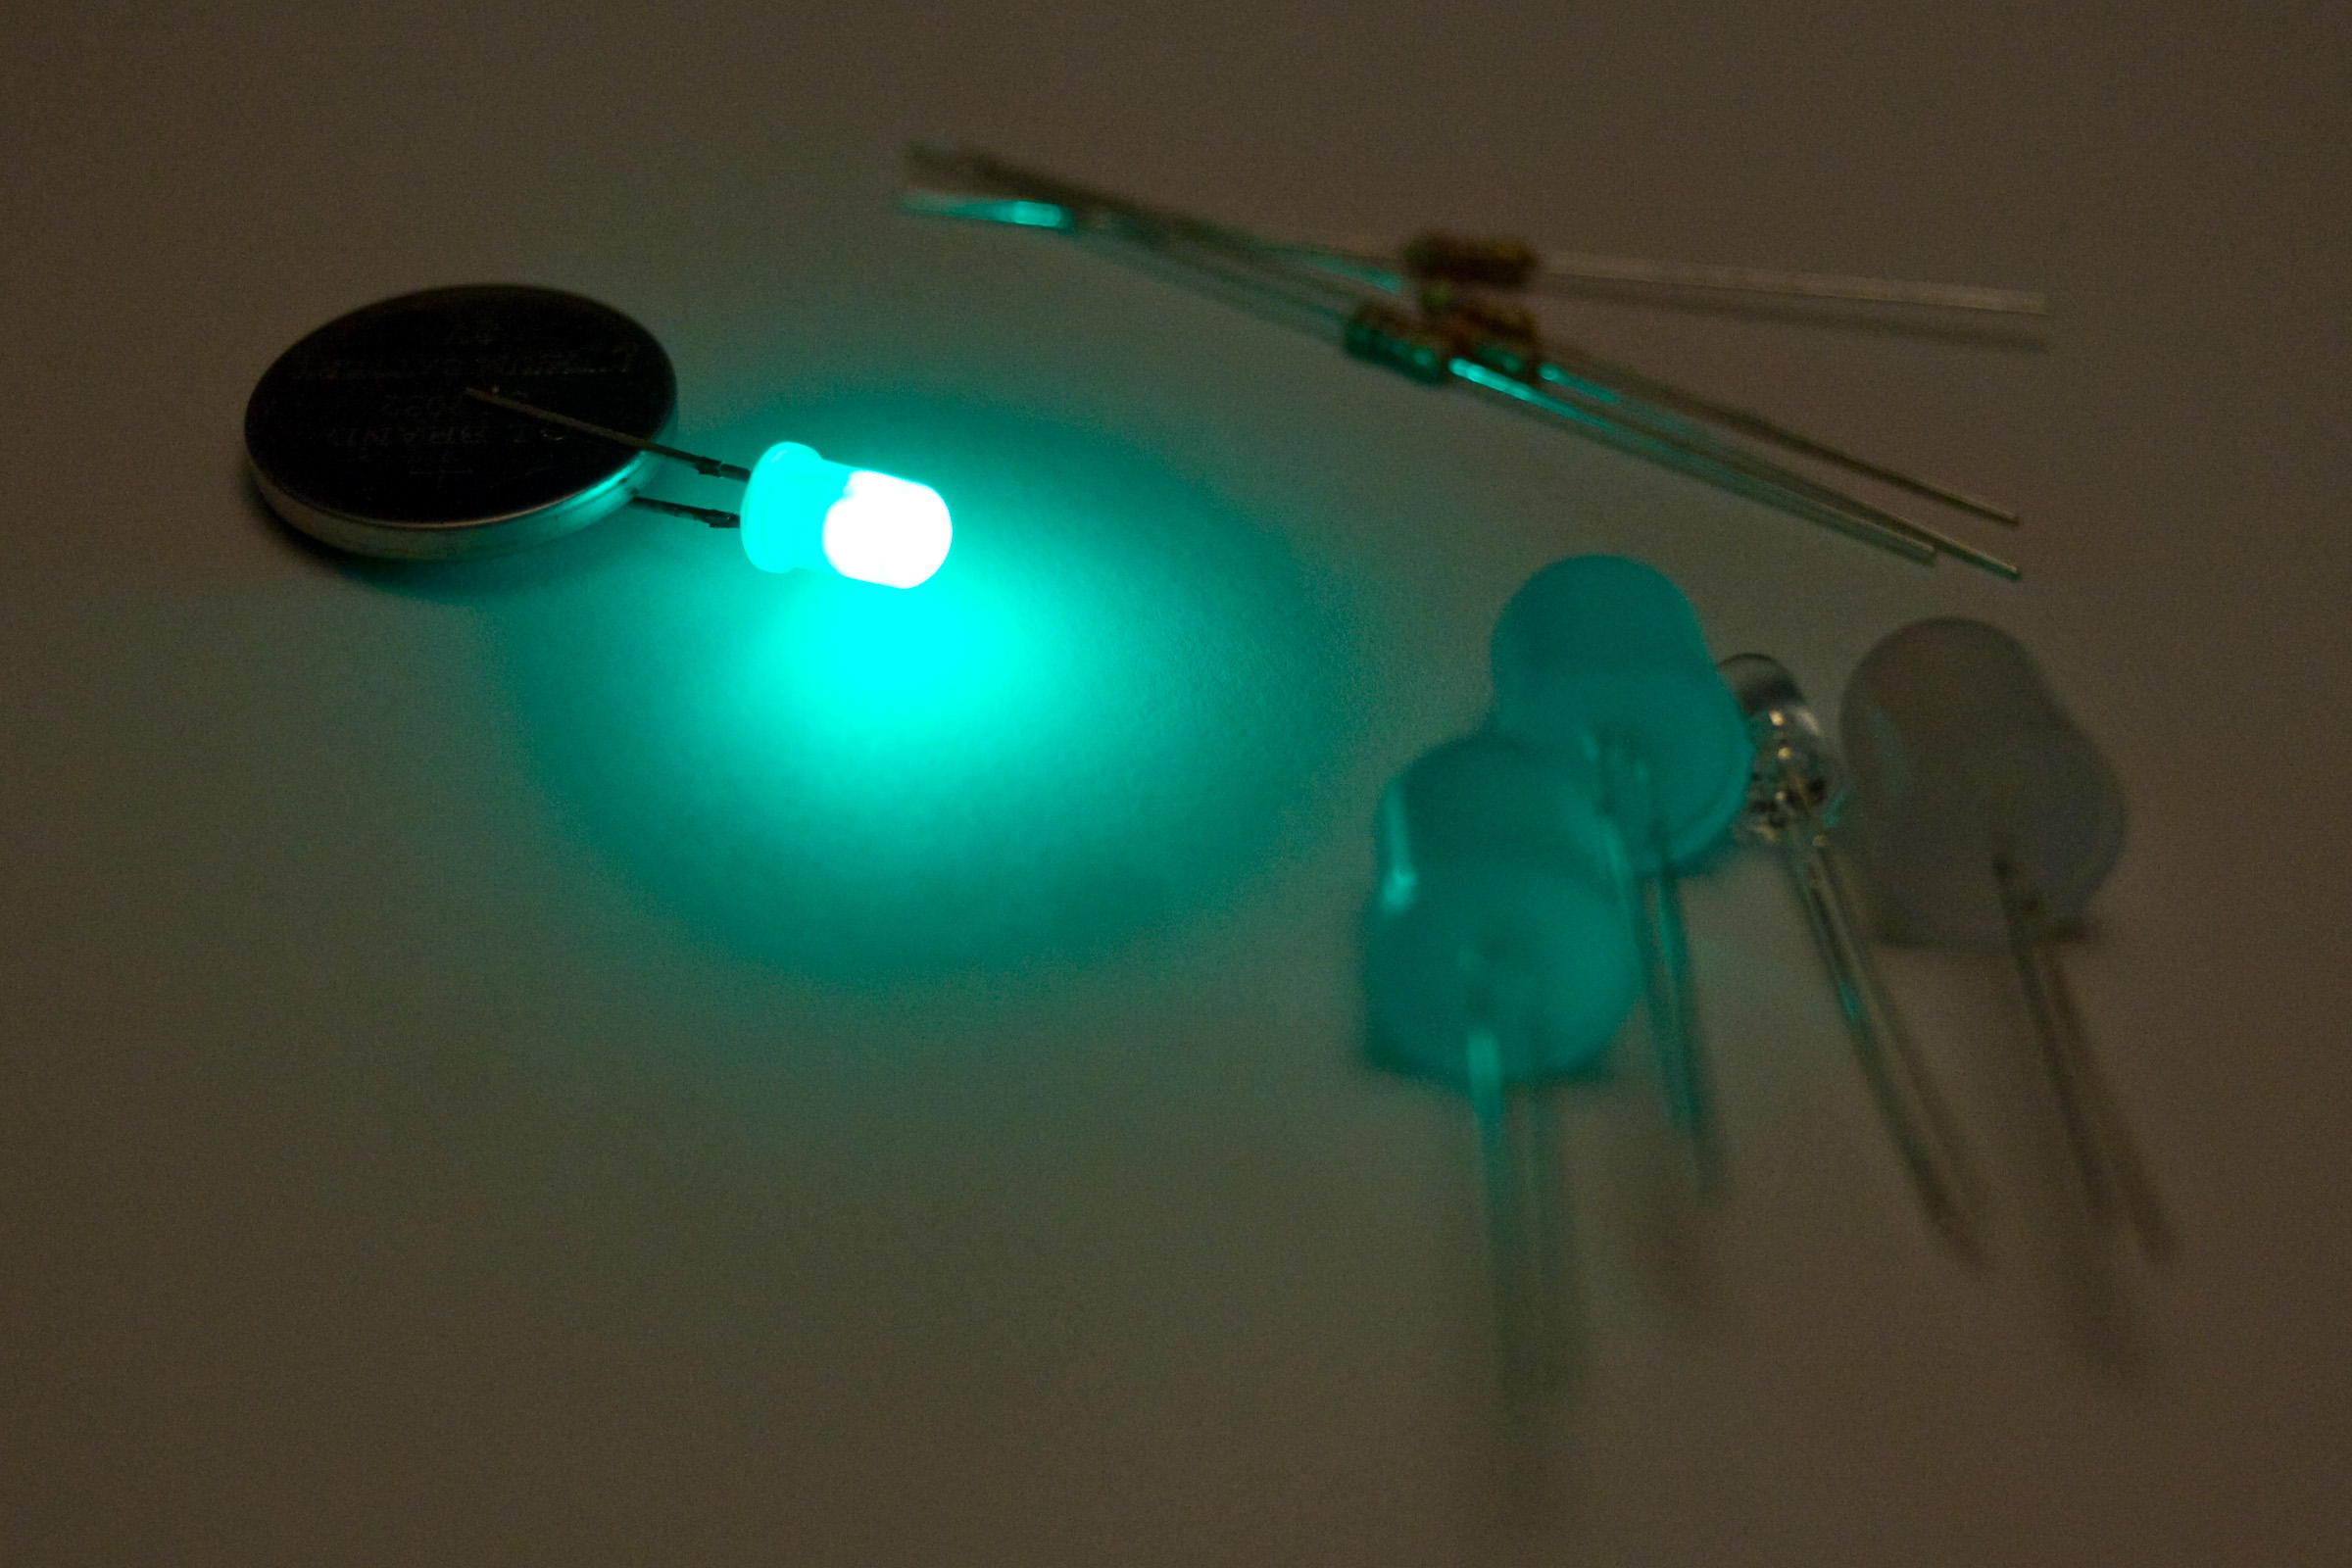
It's true, you can hook up an LED directly to a 3.0 volt lithium coin cell, and it will work without burning up. The main reason you can get away with this is that a lithium coin cell has a certain amount of internal resistance. The easy way to think about this is that the lithium coin cell batteries can't feed the current to the LED fast enough to blow it out. The reality however is a little more complicated and if you want some more information you can check out Evil Mad Science Laboratories research into what really happens when you make an LED throwie.
But what if I am not using a coin cell battery? How do I calculate the resistor value I need?
We'll do this one step at a time. (The only math is subtracting, multiplying, and dividing, and I promise you can use a calculator!)
Start with your power supply voltage. If you are using 4 AA batteries, that would be 6 volts, because each AA battery has 1.5 volts (1.5 * 4 = 6).
You need to know the forward voltage drop of your LED. The forward voltage drop is the amount of voltage it takes for the LED to start working. If the forward voltage drop for your LED is, for instance, 3.0 volts, then you need at least 3 volts to make the LED work. You could never get that LED to work with just a single AA battery, because the AA battery does not have enough volts for it to work.
You should be able to get the information about the forward voltage drop of your LED from the place you bought the LED. (If you scavenged the LED from some toy and you don't know what the forward voltage drop is for your LED, don't panic, I will discuss that later.) Let's say, for the sake of this example, that the forward voltage drop is for a red LED, about 1.8 volts.
Subtract your LED’s forward voltage drop from your power supply voltage. So if you are using a standard red LED, that would be about 1.8 volts. 6 (power supply volts) - 1.8 (LED forward voltage drop) = 4.2 (leftover volts). The 4.2 volts is what we have to slow down with the resistor.
How bright do you want it? Now, you need to know what current you are looking for. (I know that sentence sounds strange, stick with me.) If you don’t know what current is, just use 20 milliamps as a default value. The vast majority of low power LEDs are 20 milliamp devices.
20 milliamps is 0.020 amps. Get out your calculator, and divide 4.2 by 0.020.
4.2 volts / 0.020 amps = 210 ohms. [Resistors are measured in ohms, you don’t have to know what an ohm means for now.]
210 is the value of the resistor that you need. Now, resistors come in standard values. The closest standard value (rounding UP not down) is 220 ohms. But you could also have used 330, or even 470 ohms.
Okay, it's later. I have a bag of LEDs and I have no idea what their forward voltage drop is.
I'm going to start calling "forward voltage drop" something else now, "Vf". It makes the sentences easier.
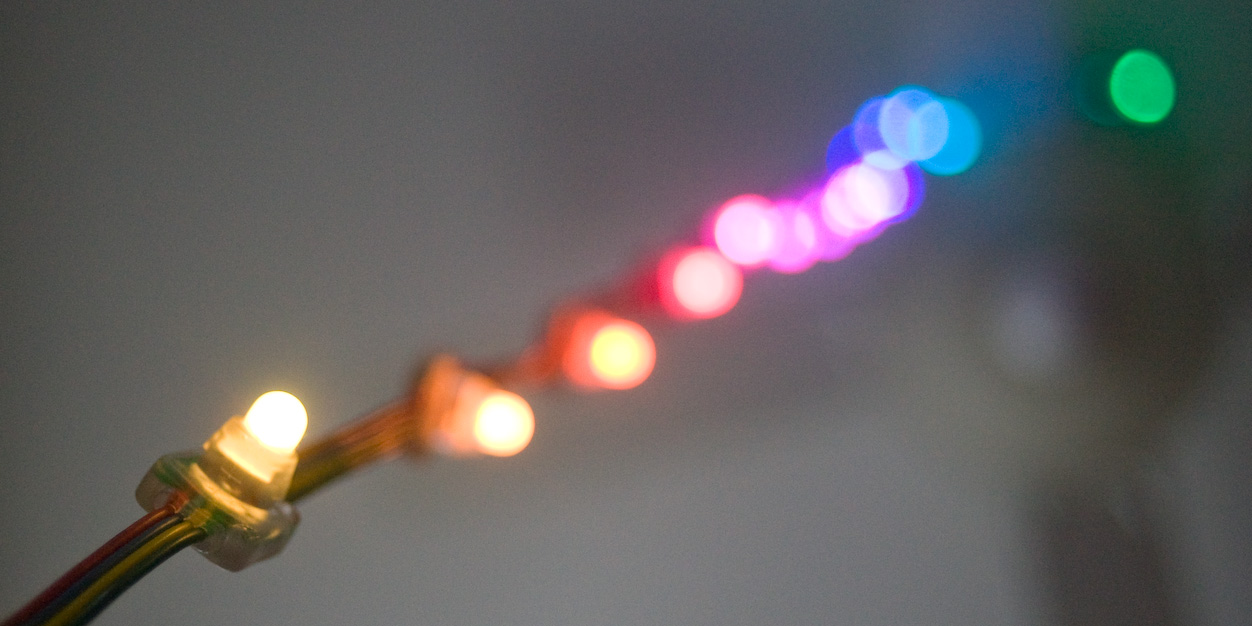
Take a look at a rainbow. Goes like this:
Red Orange Yellow Green Blue Indigo Violet
In general, the closer you are to the red end, the lower the Vf. A red LED has a Vf of around 1.8 to 2 volts. Orange, amber, yellow, and yellow-green LEDs are all around 2 to 2.2 volts.
Pure green is 2.7 to 3 volts, and up on the blue and/or purple end of the rainbow, the Vf of the LED is around 3 to 3.3 volts. White LEDs are also around 3.3 volts. (Fun fact, a white LED is a blue LED, surrounded by some material that glows bright white in the presence of blue light. Sneaky!)
If you want more in-depth information on how to pair a resistor with an LED, check out this guide by EMSL.
What if I get the resistor value wrong?
If the resistor value is too large, then the LEDs won't be as bright, but your batteries will last longer!
If the resistor value is too small, too much current will flow through your LEDs. They will be brighter, and start running hotter, and you run the risk of burning them out. A burnt out LED can do everything from fail entirely, to just getting dimmer and dimmer over time.
It's always safest to fail on the size of making the resistor too big!
All that sounds complicated, got anything simpler?
You can also buy some pre-made modules that have resistors and some minimal control circuitry built in. These modules have some control pins available that make it super easy to control them with a microcontroller.
How can I control LEDs?
You need to learn how to use some type of microcontroller. One of the most beginner friendly microcontroller platforms is the Arduino. The Arduino has a lot of documentation and community support. For a step by step guide to getting started with the Arduino go here:
For the Mac: http://arduino.cc/en/Guide/MacOSX
For Windows: http://arduino.cc/en/Guide/Windows
What can I do with an LED?
Some things are super easy, such as just plugging them into a power source with an appropriate resistor. If you are using a microcontroller to get your LEDs to blink or flicker or move, remember that a hard blink (ON then OFF then ON then OFF) is very easy to do, but a slow fade or flicker will require you to learn a bit more and do a bit more work. If you are using an Arduino there is a lot of example code that you can use to get started.
Where can I buy LEDs?
A beginner friendly place to buy LEDs is Evil Mad Science Laboratories (www.evilmadscience.com). They have a lot of great looking LEDs and a number of interactive pre-assembled LED panels available for purchase. Another great place to buy LEDs and LED modules is Adafruit Industries (www.adafruit.com). Both EMSL and Adafruit have user forums that can help you figure out and use their products if you are having issues.